
Life-sized Gundam in front of
Gundam Base Tokyo.
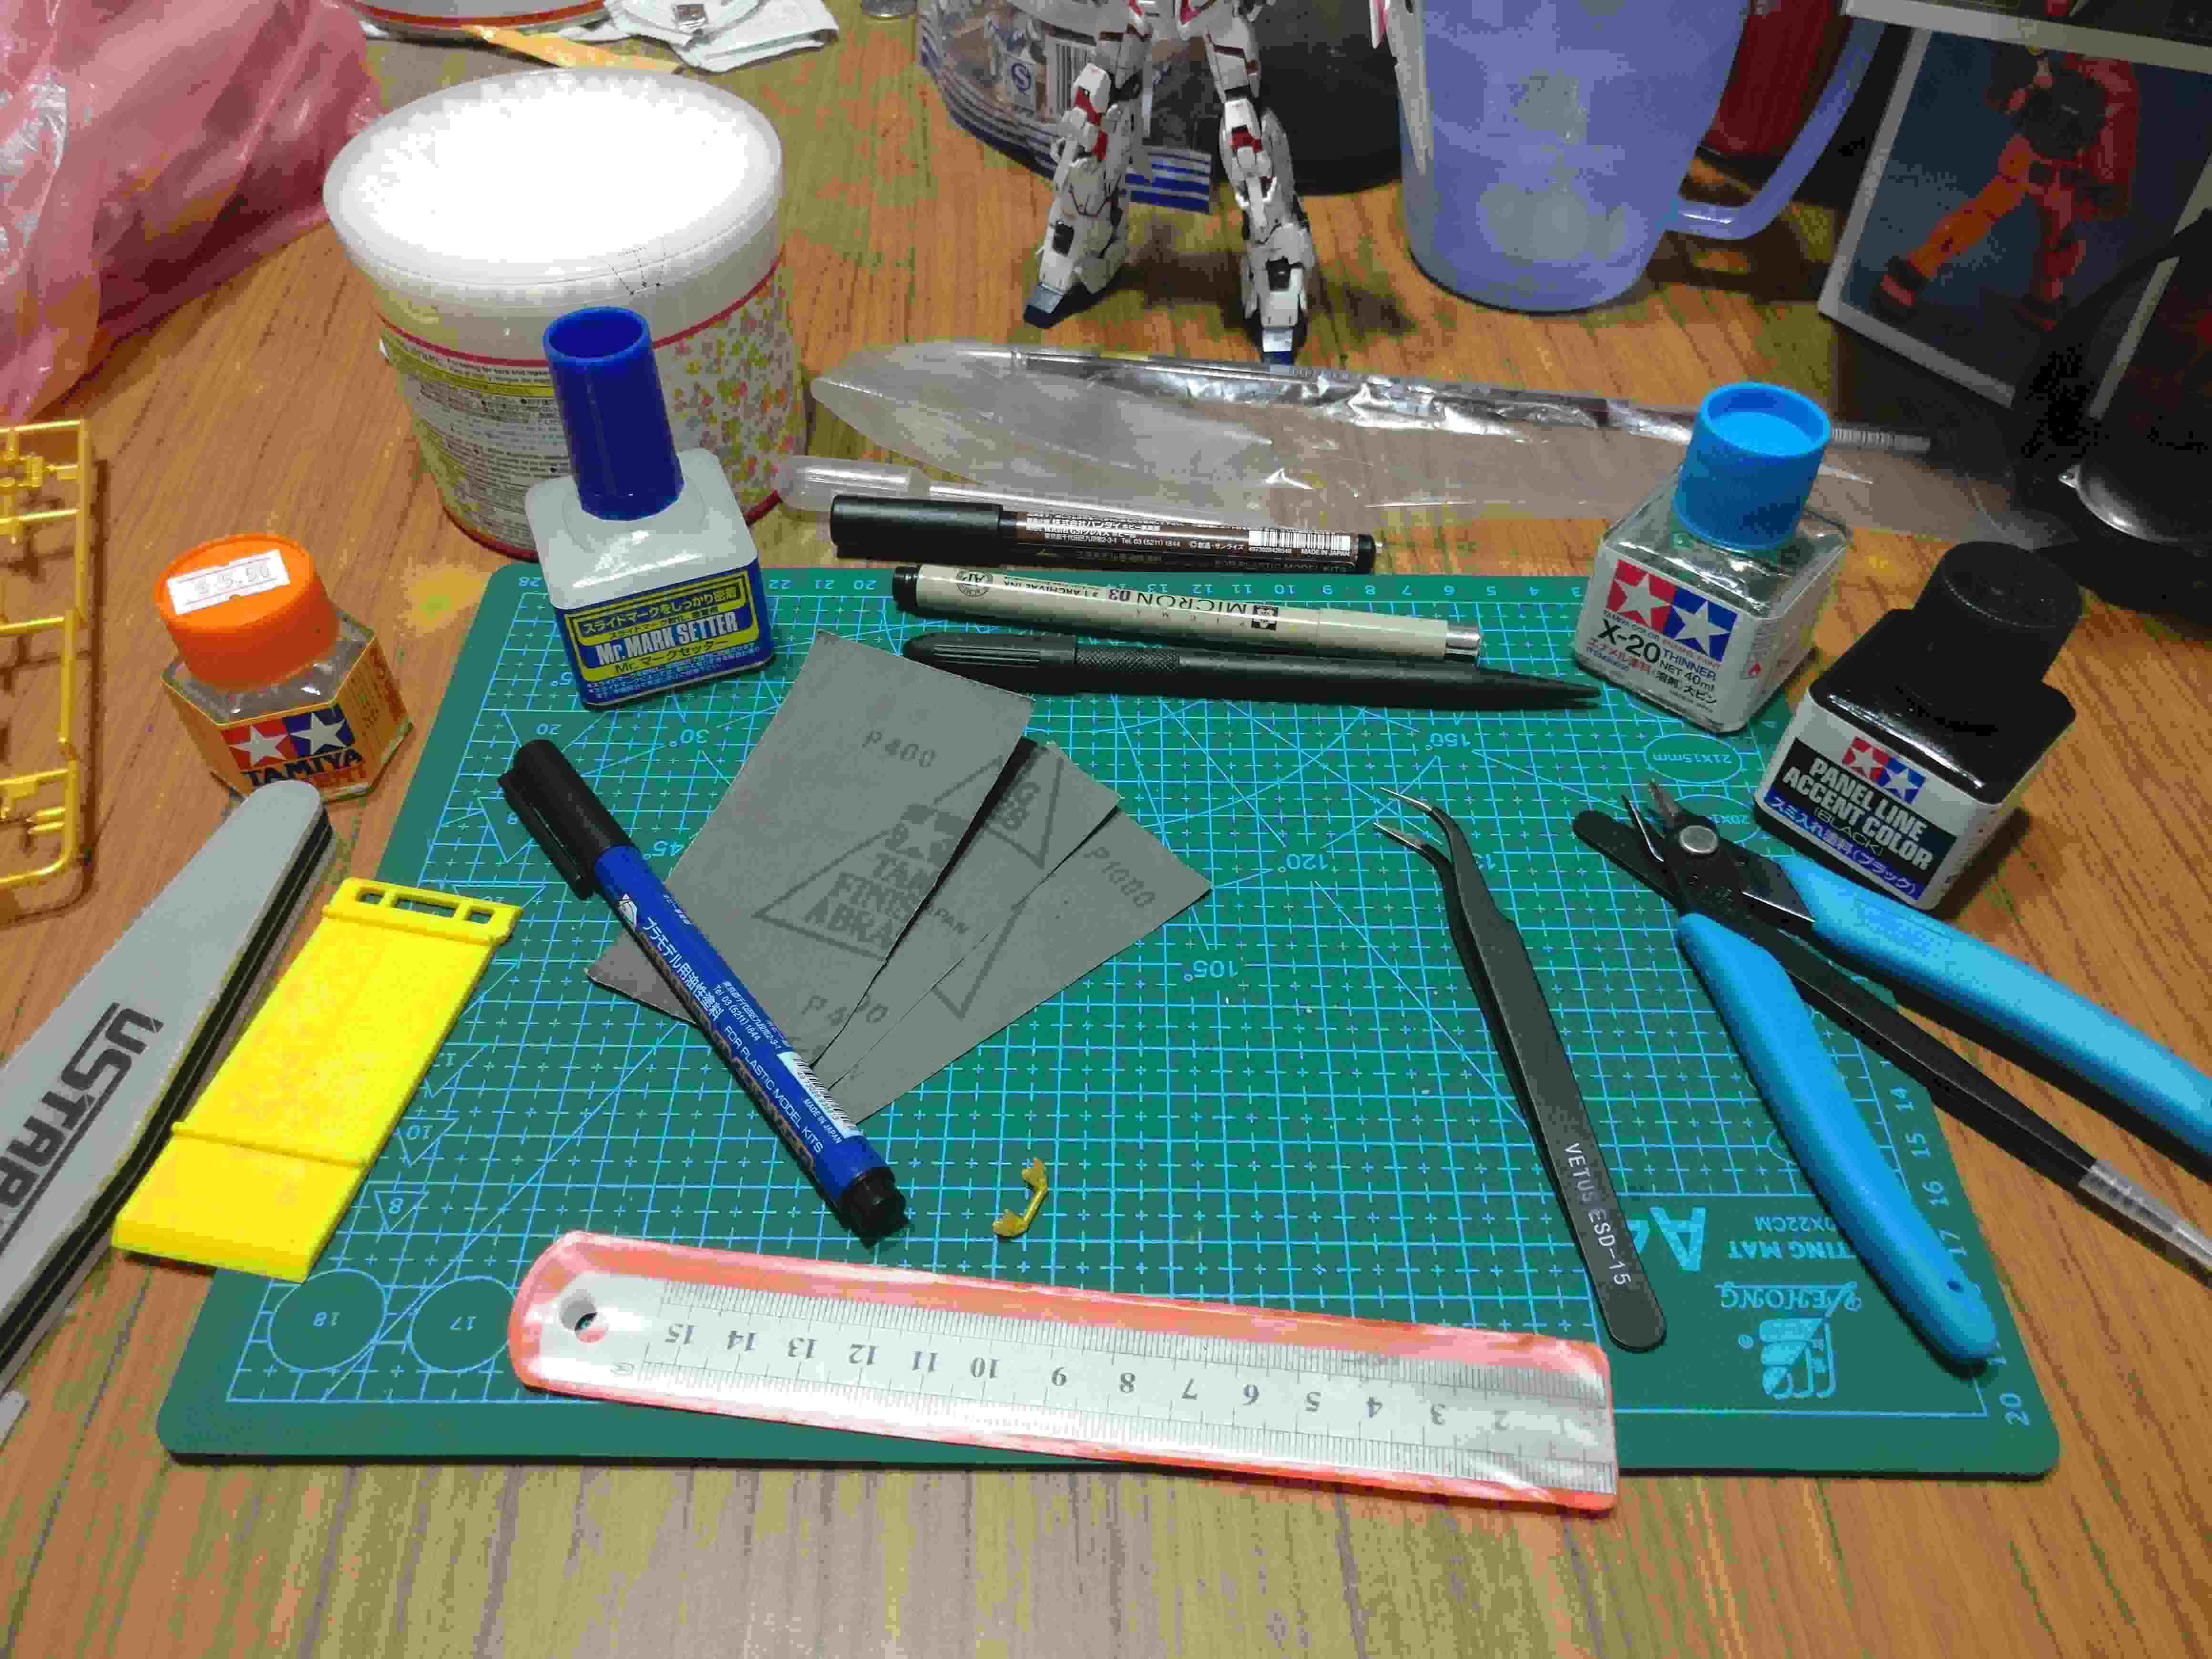
Where To Start
Cutting mat, Pliers, Tweezers, Craft knife, Finishing abrasive, Sander, Paint marker, Cement, Panel line accent, Panel lining pen, Thinner, Mark setter/Mark softer, Cotton buds, Topcoat
Cutting mat(art stores)- for you to place your model kit and tools and to protect your table from your crafting.
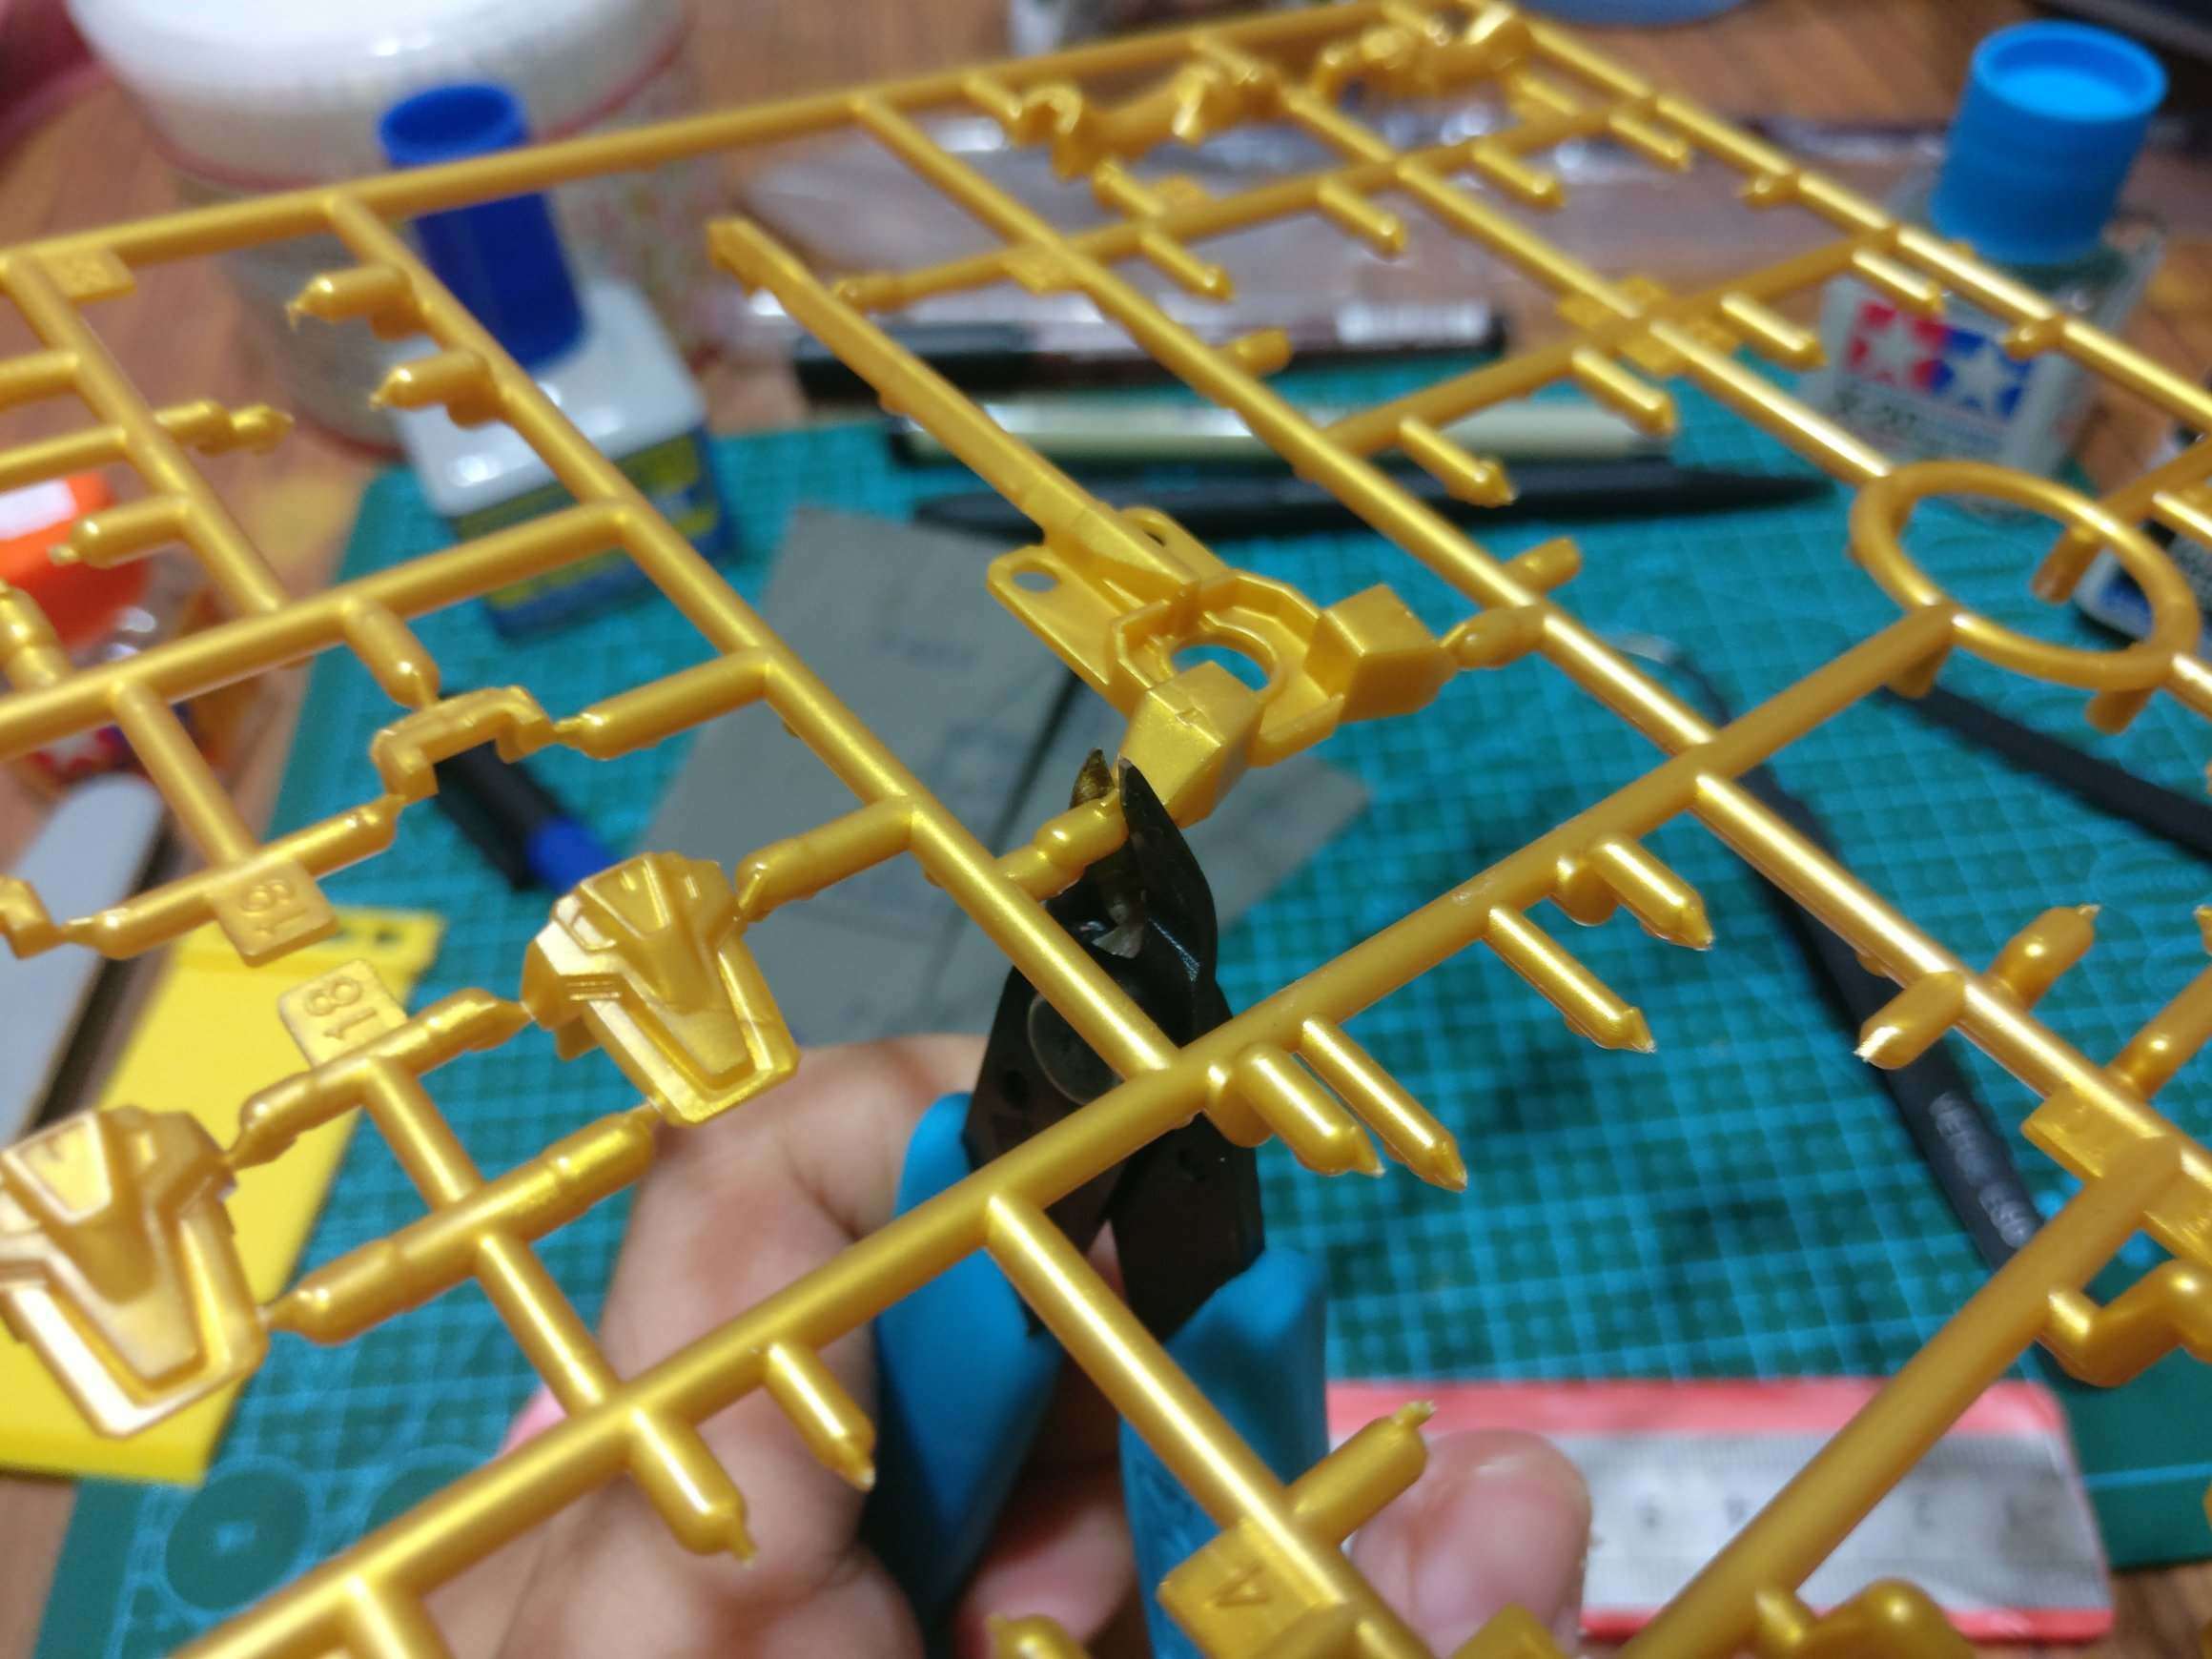
Pliers(craft /gunpla stores)- in my opinion, the fundamental tool for you to build a model kit. It can cut out parts easier and accurately leaving less (not much less) nub marks than using a scissors.
Tweezers(craft stores)- to pick up small parts, tiny stickers, and decals, good for applying sticker on small parts.
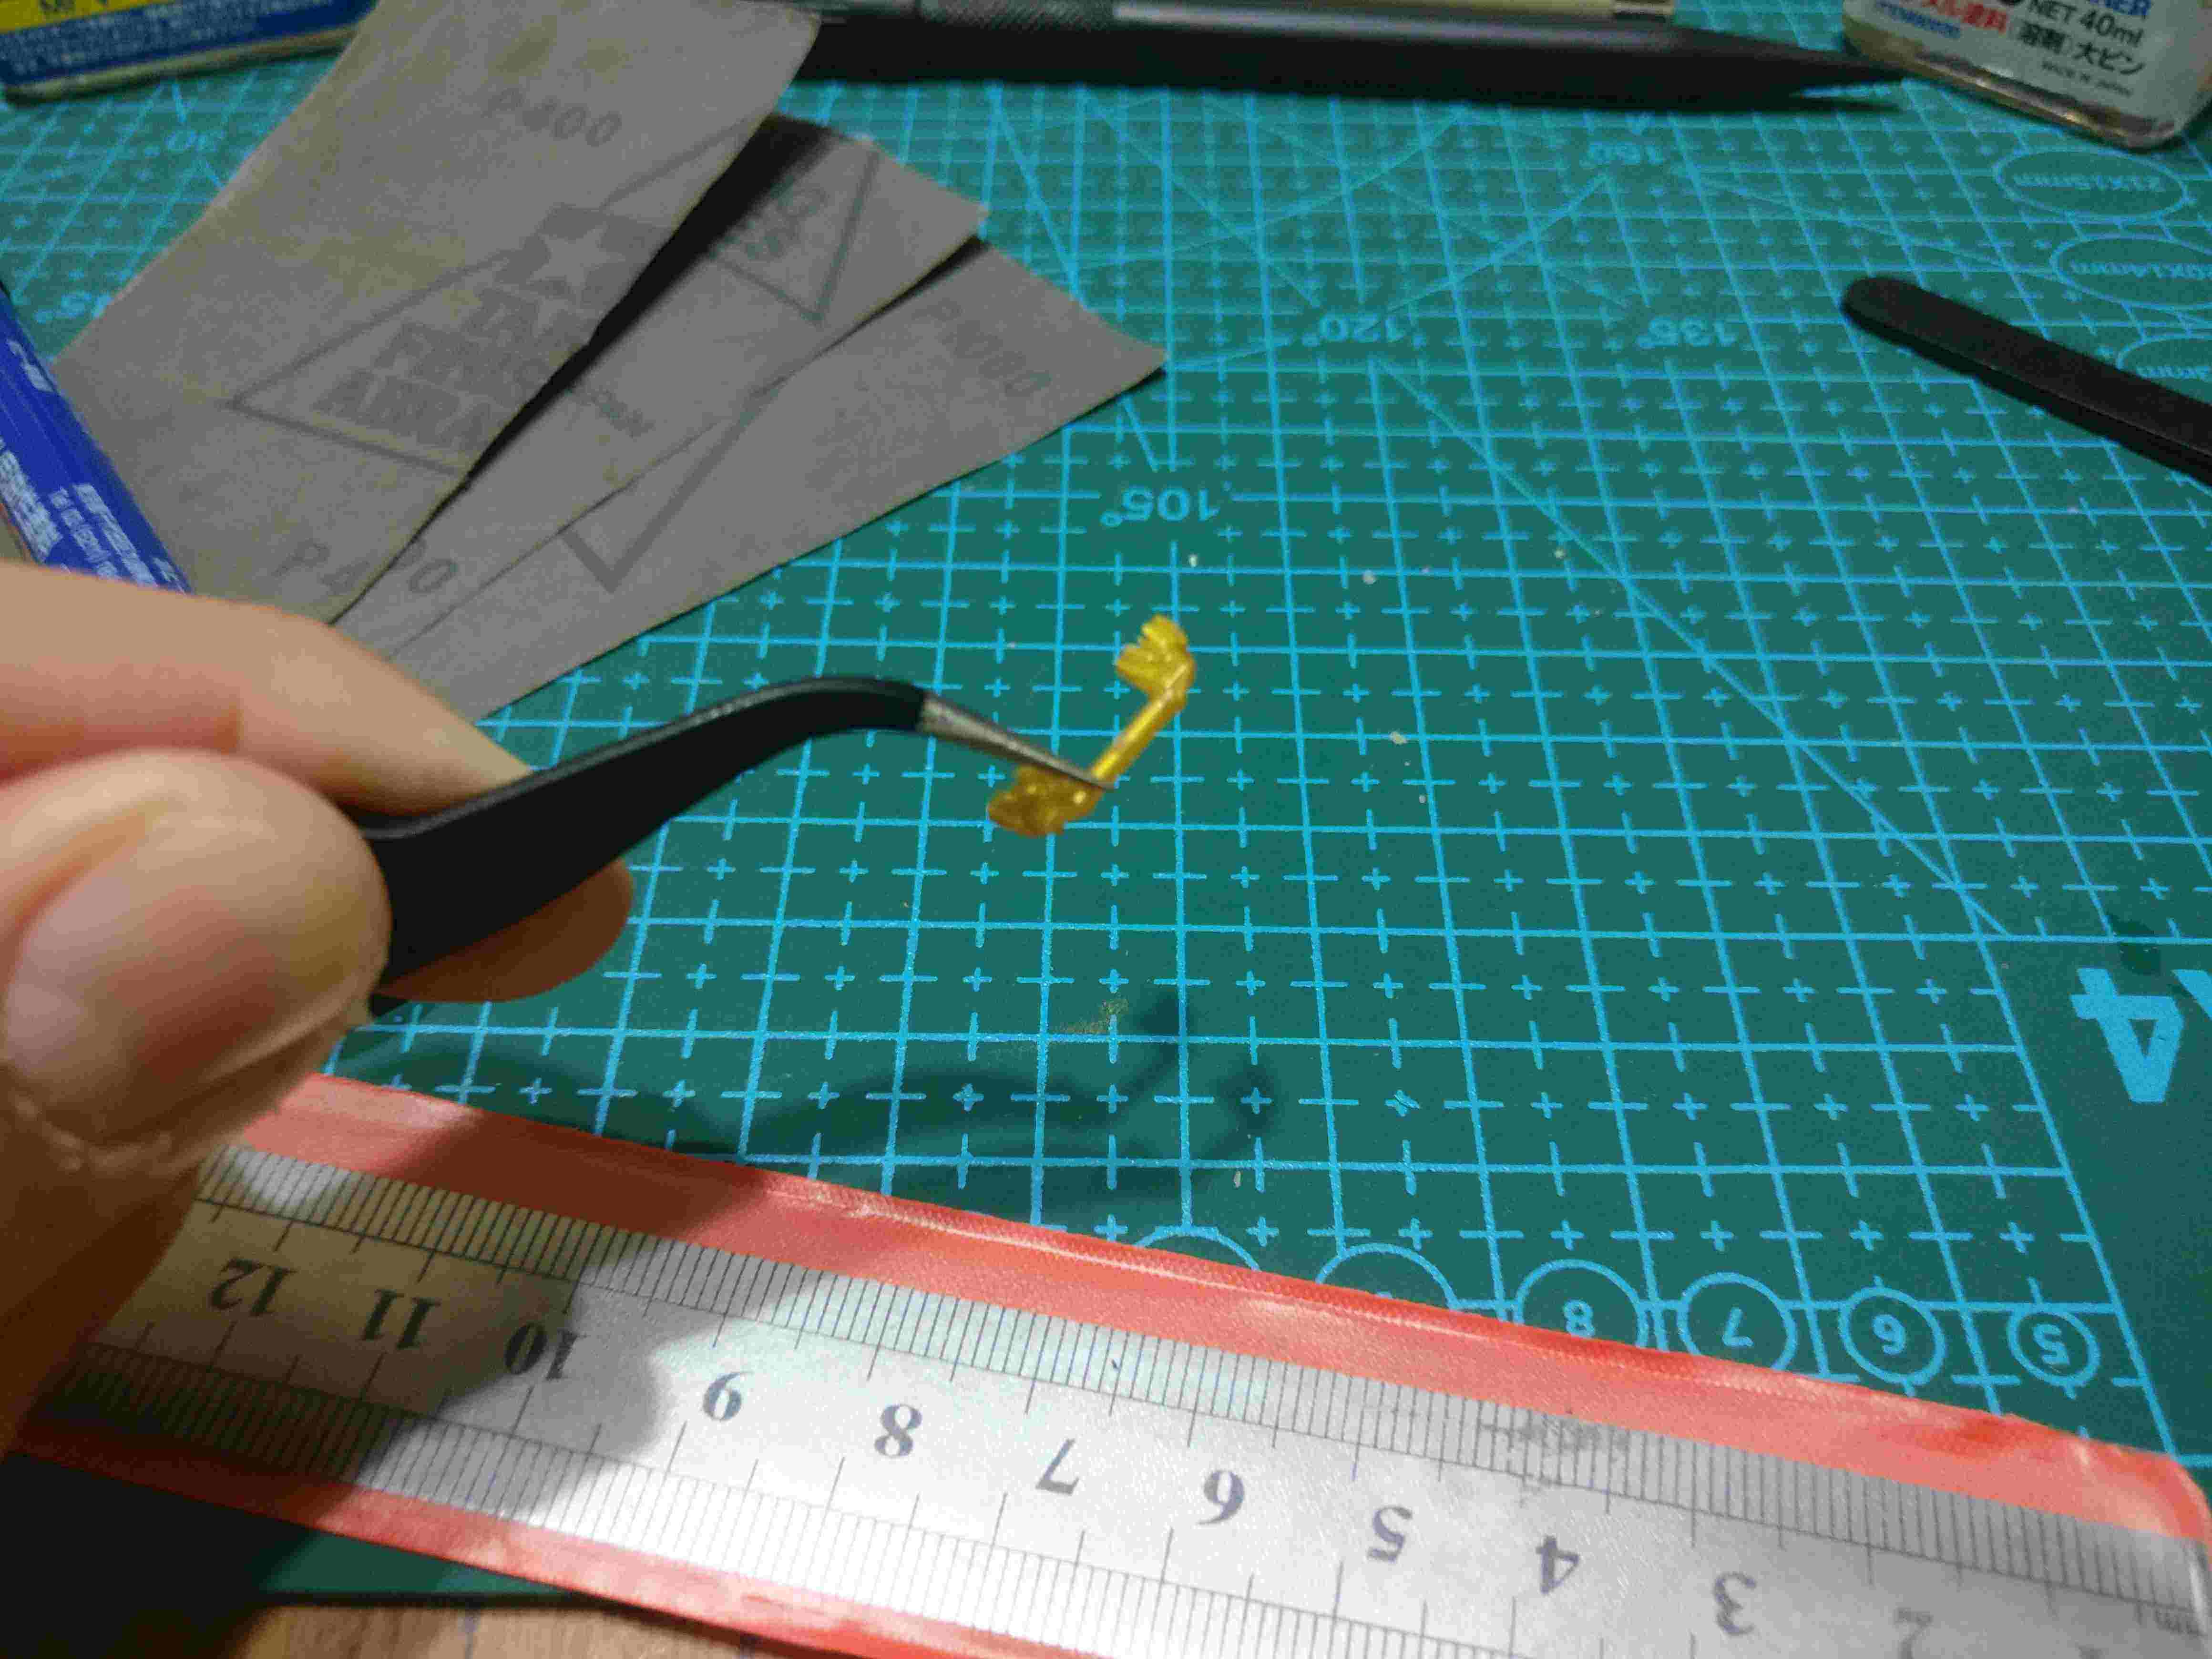
Craft knife(craft/ art stores)- one of the methods to remove nub marks on the plastics.
After cutting the parts off the runners, visible nub marks will appear and make your kits look barely acceptable.
You can use this knife to cut off the excessive parts.
Other than that, you can use this knife for multiple purposes so it depends on what you do.

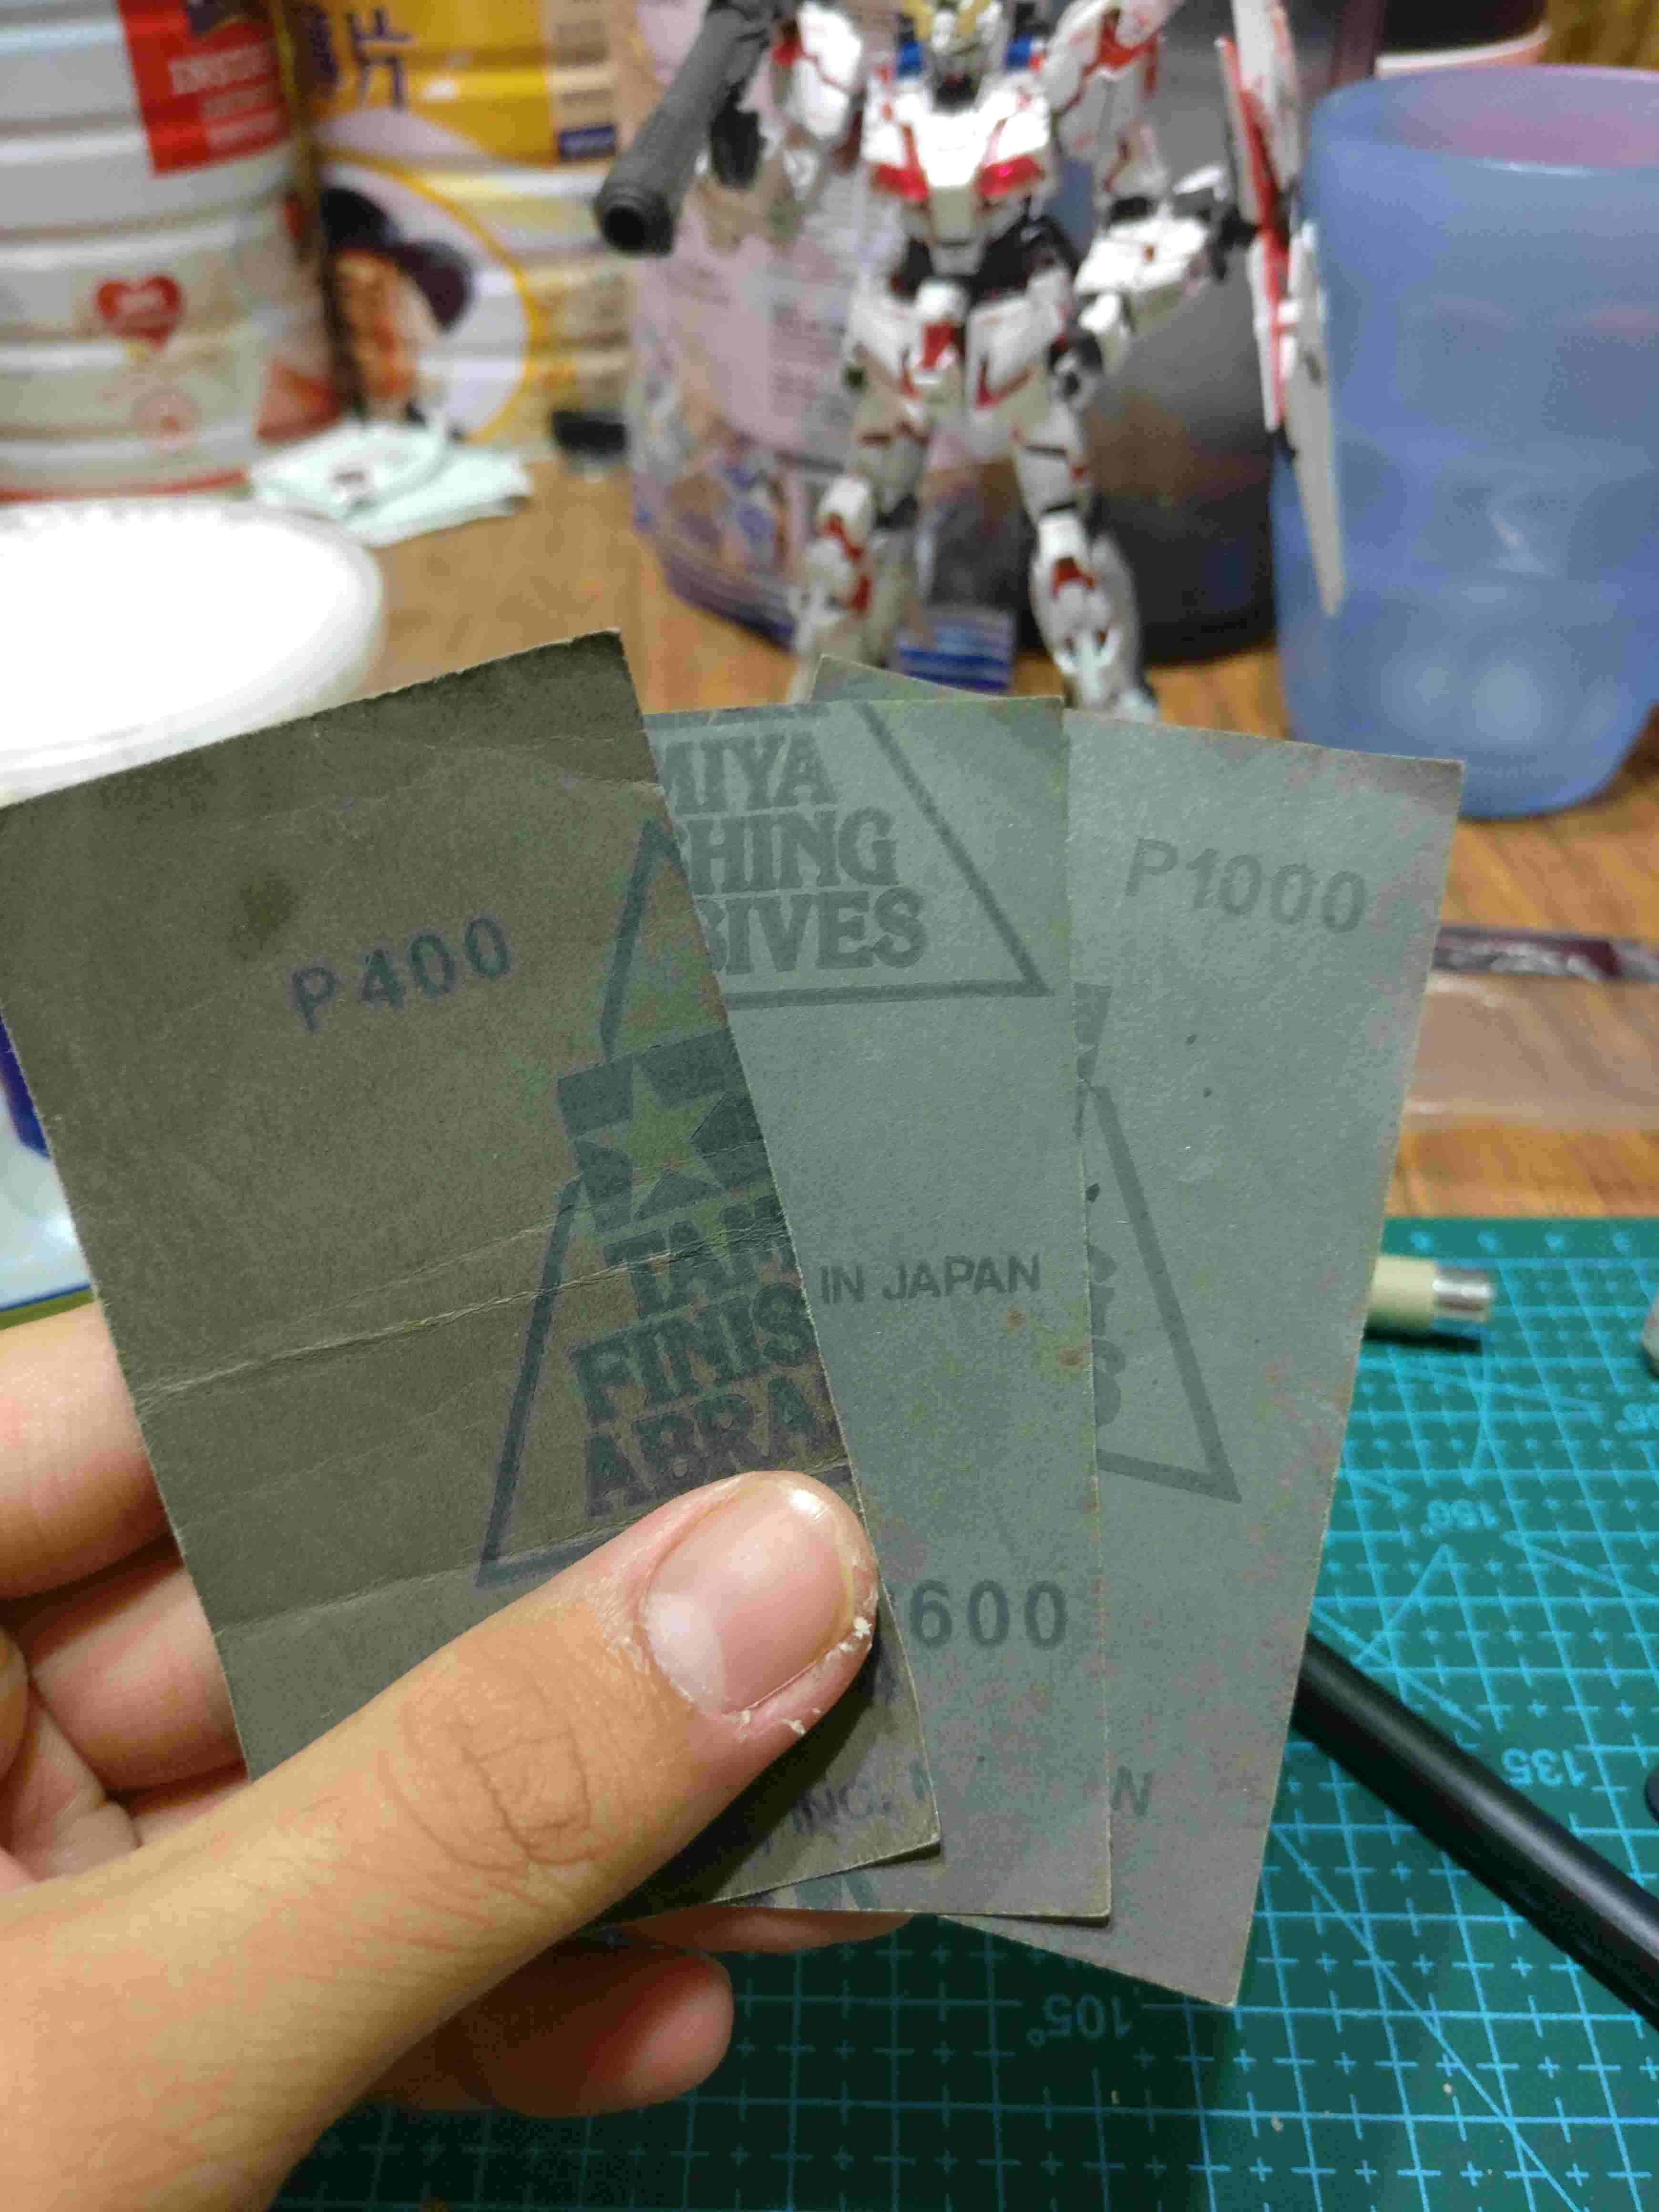
Finishing abrasive(gunpla stores)- a.k.a sandpaper – this is also one very useful tool. Although you can also get sandpaper from craft store like Artfriend and others, but I would recommend people to buy sandpaper made specifically for plastic surfaces (Tamiya brand) because the sandpapers are smoother and will effectively smooth out the excessive plastic. This sandpaper can also remove nub marks and also remove course surfaces. Most common sandpapers for plastics are in the grade of P400, P600 , and P1000, from the roughest to the smoothest.
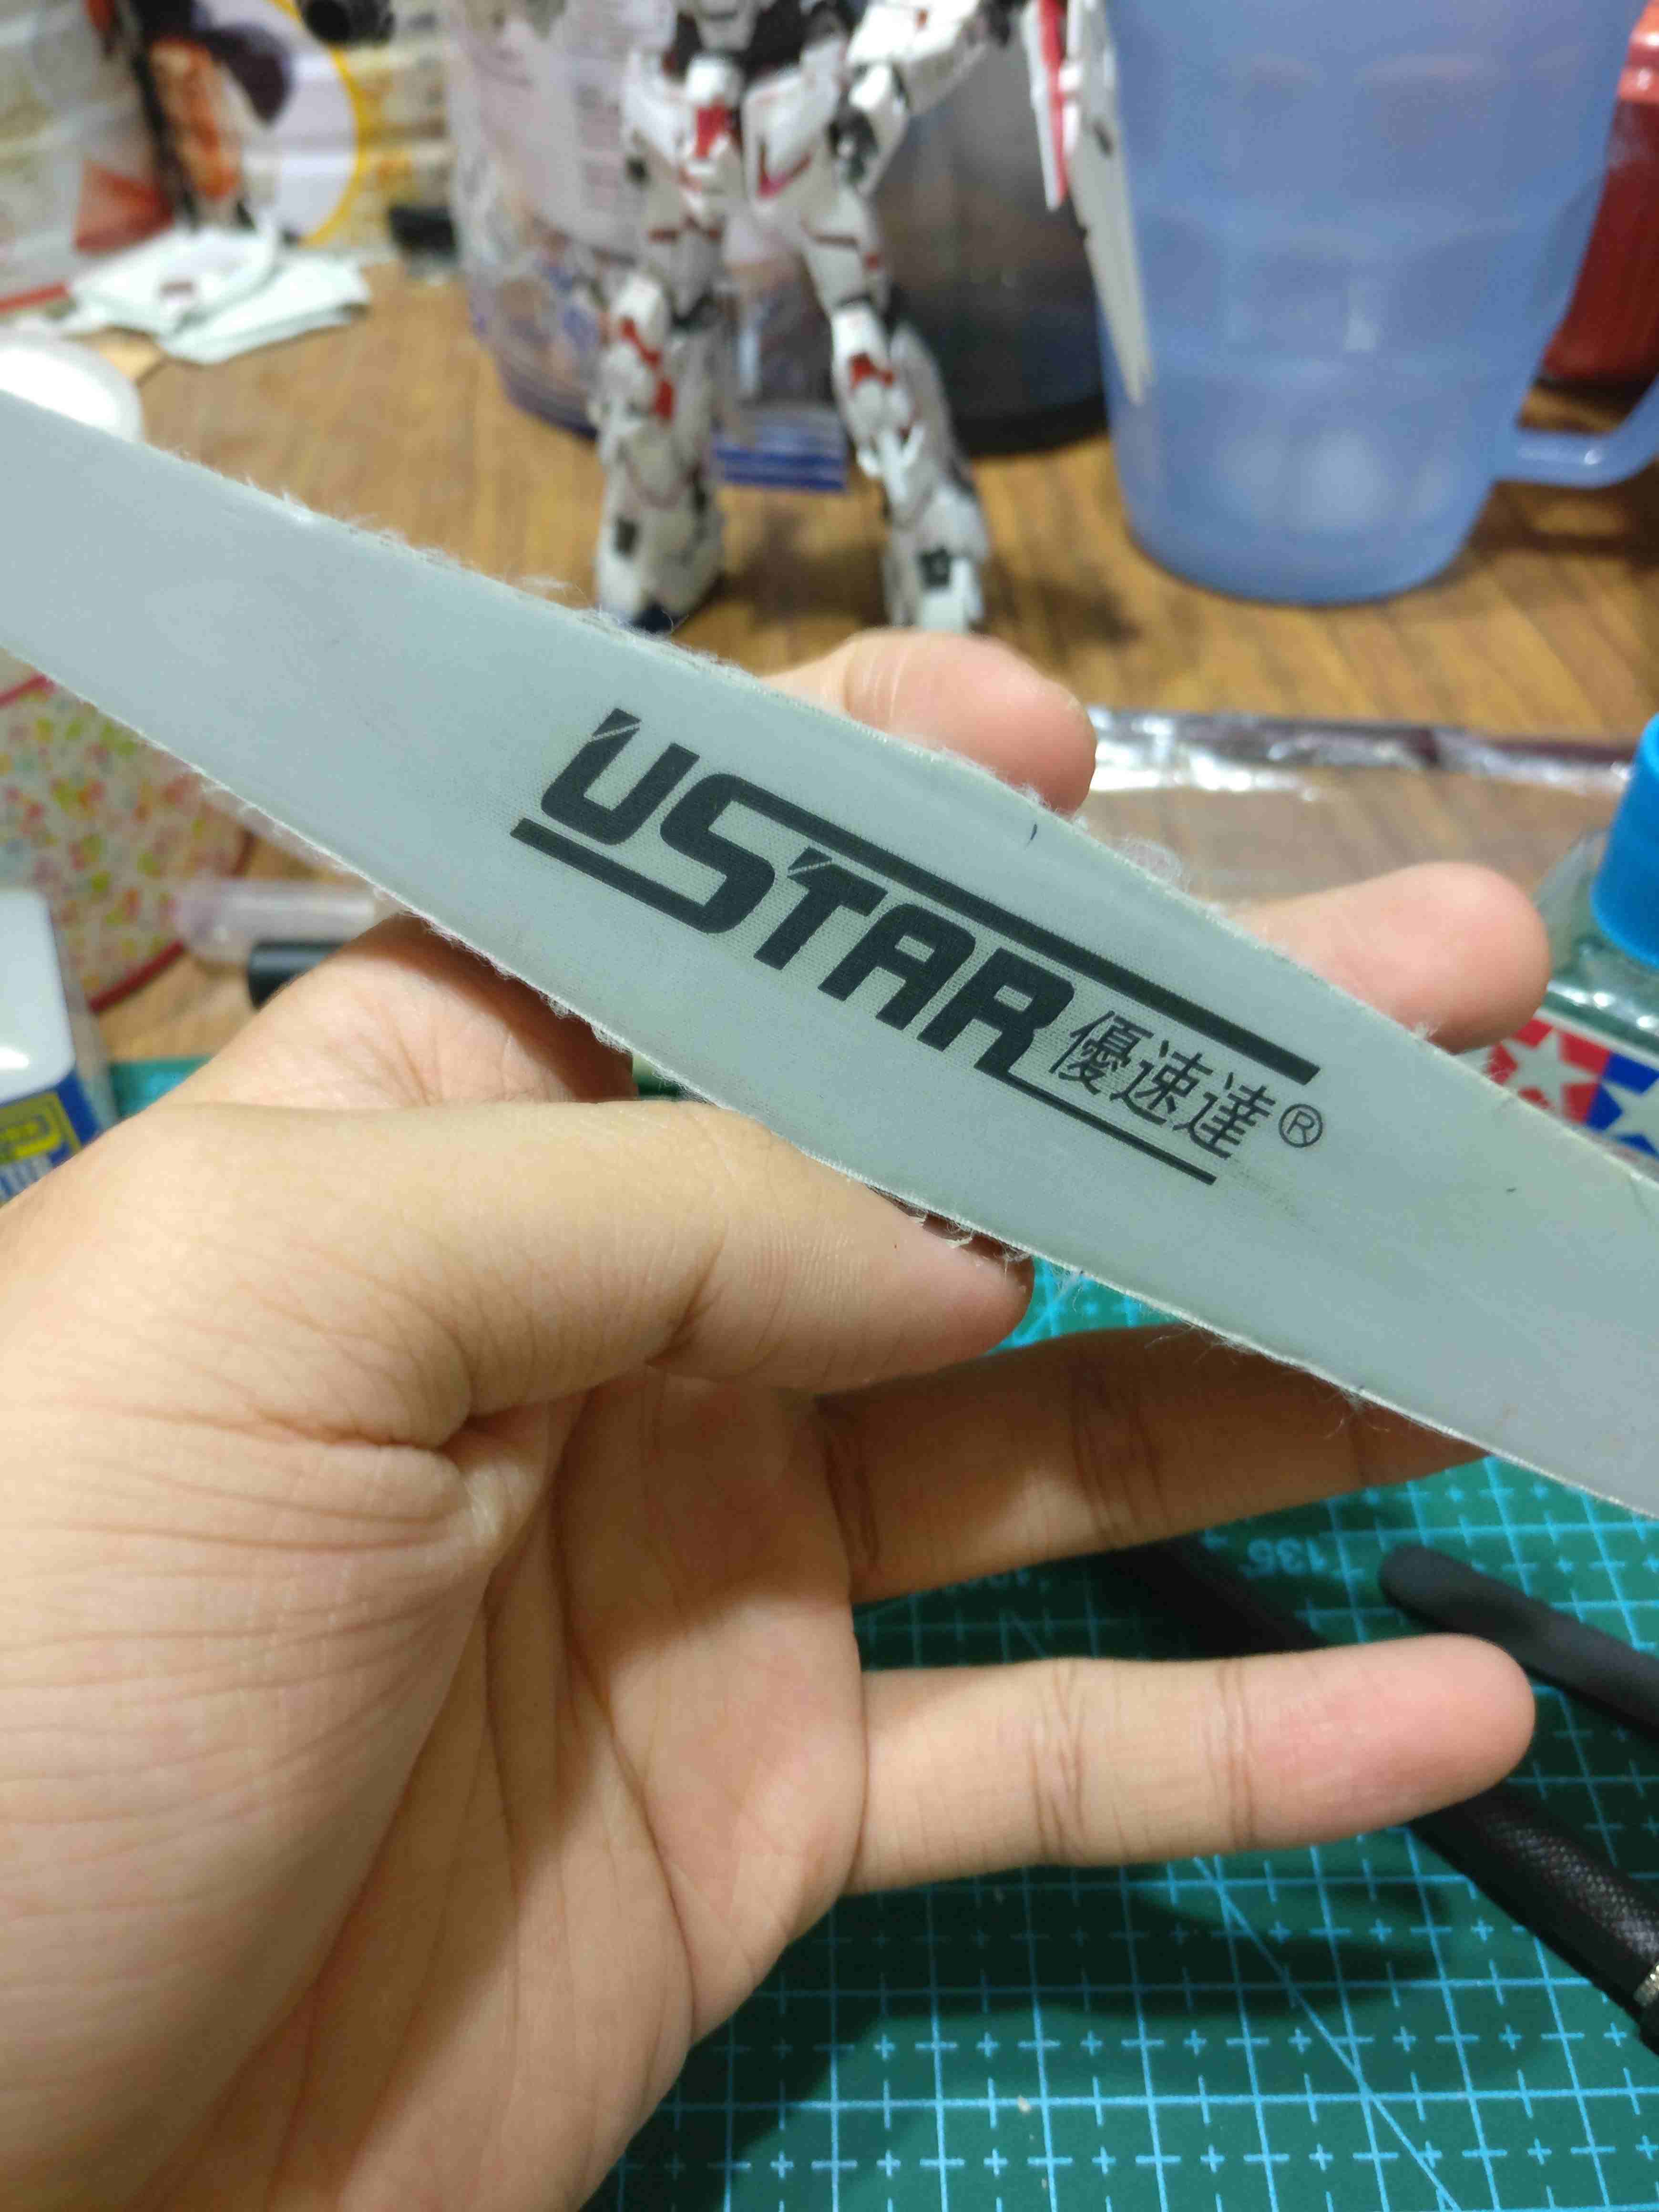
Sander(gunpla /craft stores)- for you to sand off the rough parts and make the surface looks originally shiny after you sand them with sandpaper.
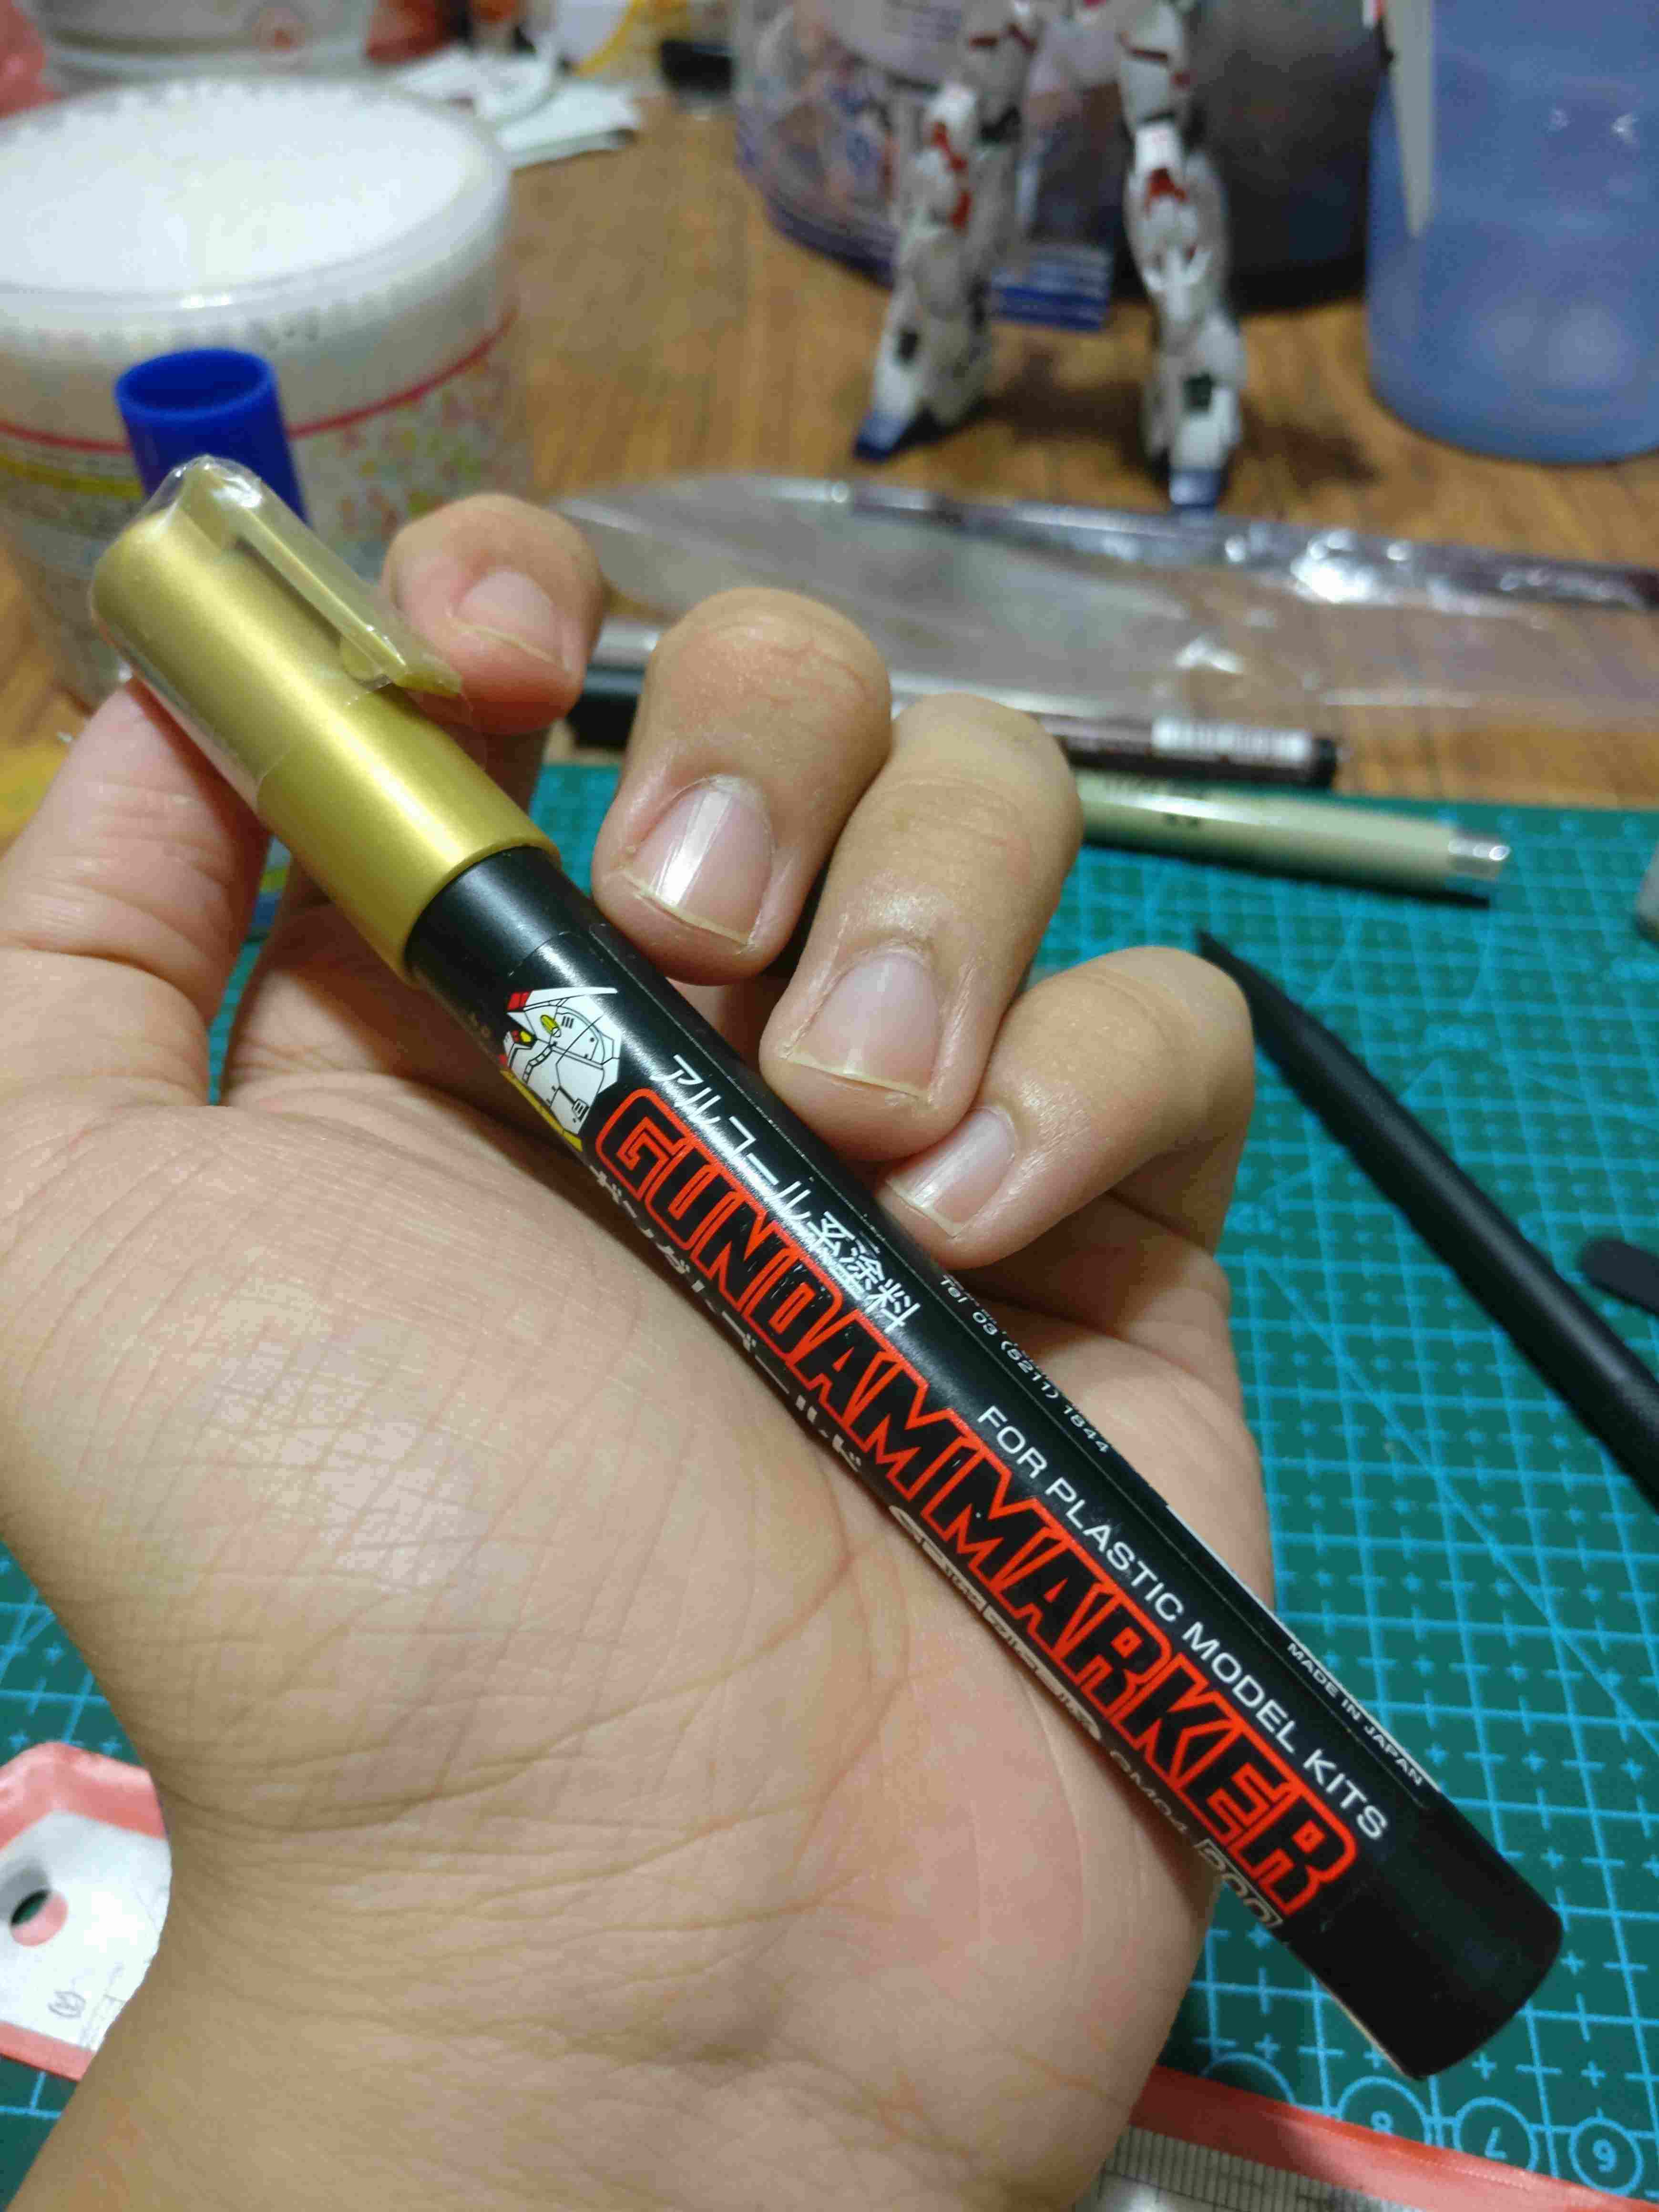
Paint markers(gunpla/art stores)- useful to cover severe nub marks that cannot remove from specific colour paint applied by the manufacturer. For example: swirly gold paint, chrome parts.
Cement(gunpla stores)- in my opinion, this is one very useful liquid/ tools as I use it every time I messed up something or when I have to remove the seamlines. In terms of messing up something, I am talking about putting too much force on the plastic and broke it in half. That is one very fearsome occasion for beginners (including me when I started building) because they panicked and do not know what to do. Fear not, cement will act as a weaker super glue to stick your plastic parts together, hence the name cement. Just wait for it to dry and do a little bit of touch up and sanding and you are done. To remove seamlines, gently touch up at the seamlines and wait for it to dry up and sanding it down, its that easy! The seamlines are gone/ less obvious because the cement will actually melt the plastic and bond together, making it seamless.

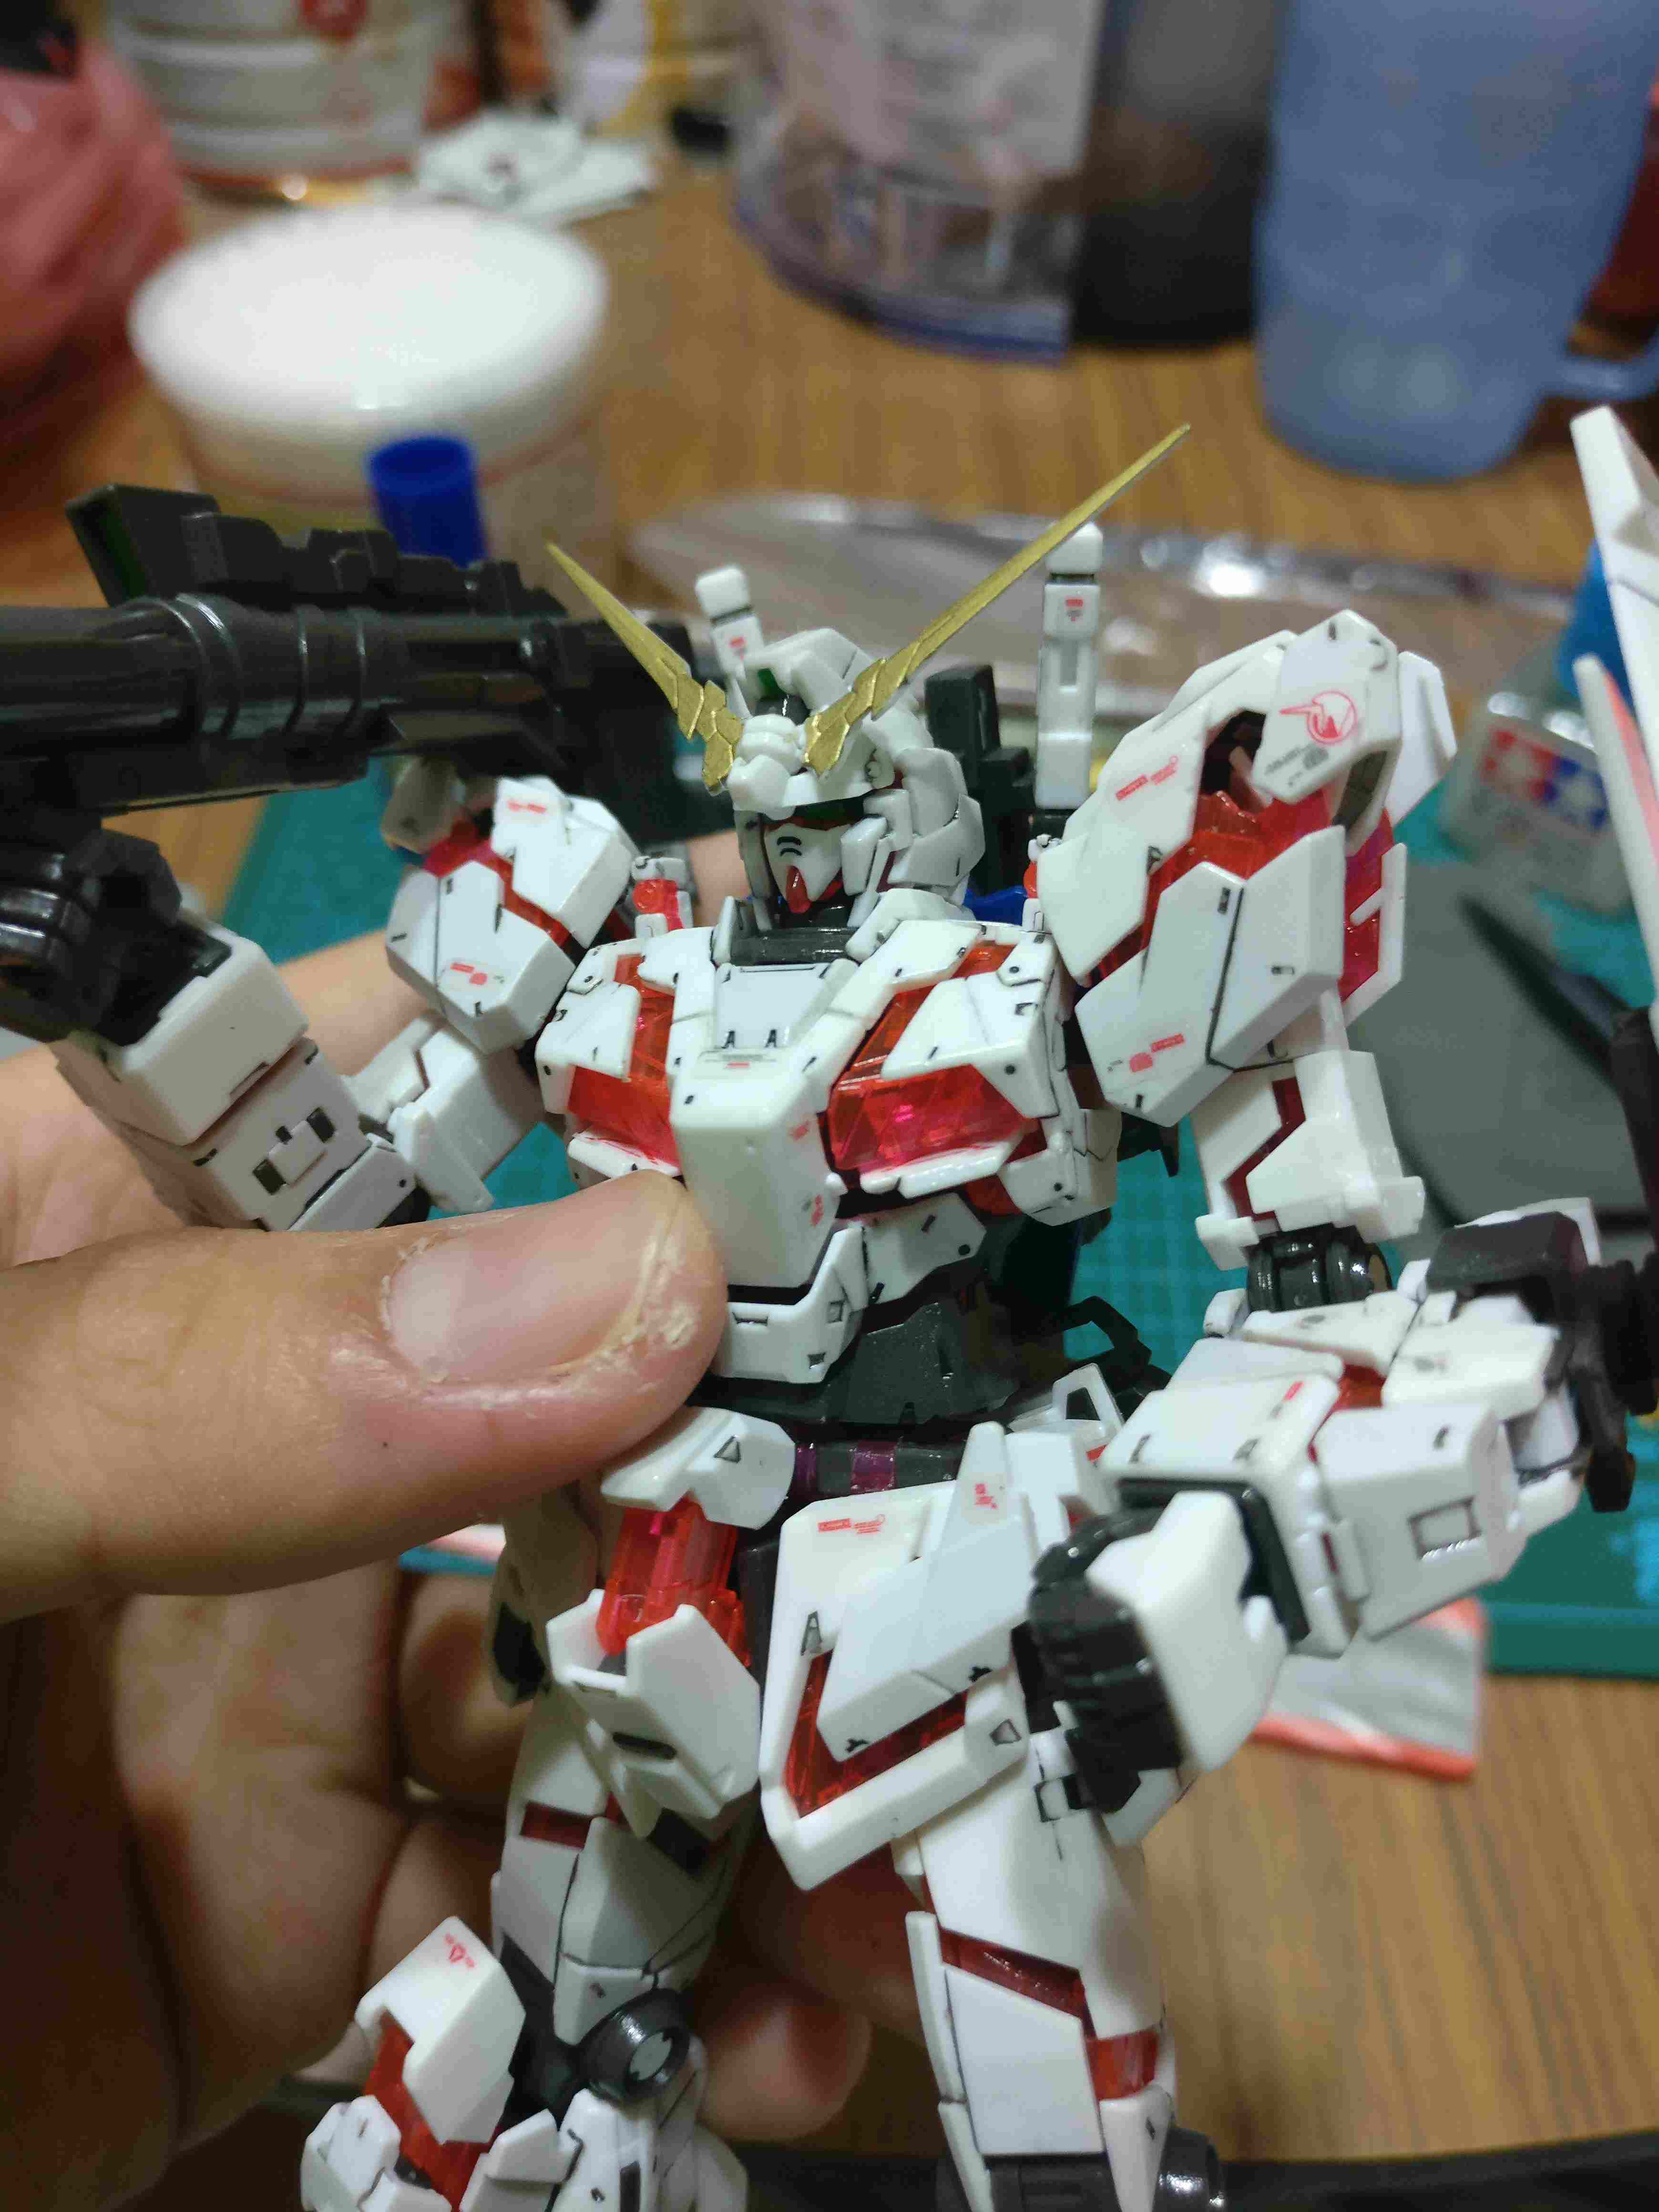
Panel line accent(gunpla stores)- a thinned enamel paint that allows you to panel line your model kits. Although model kits can be mesmerizing and colourful if you build straight out of the box, but panel lining would make such a drastic difference that gives you the satisfaction. It adds realism to the kit, as well as making it look like an actual robot. Just use the cap brush and tip on the ridges and lines on your model kit and voila, the paint will go along the lines itself. If the paint reaches other edges that you do not want It on, you can always use thinner and rub it off.
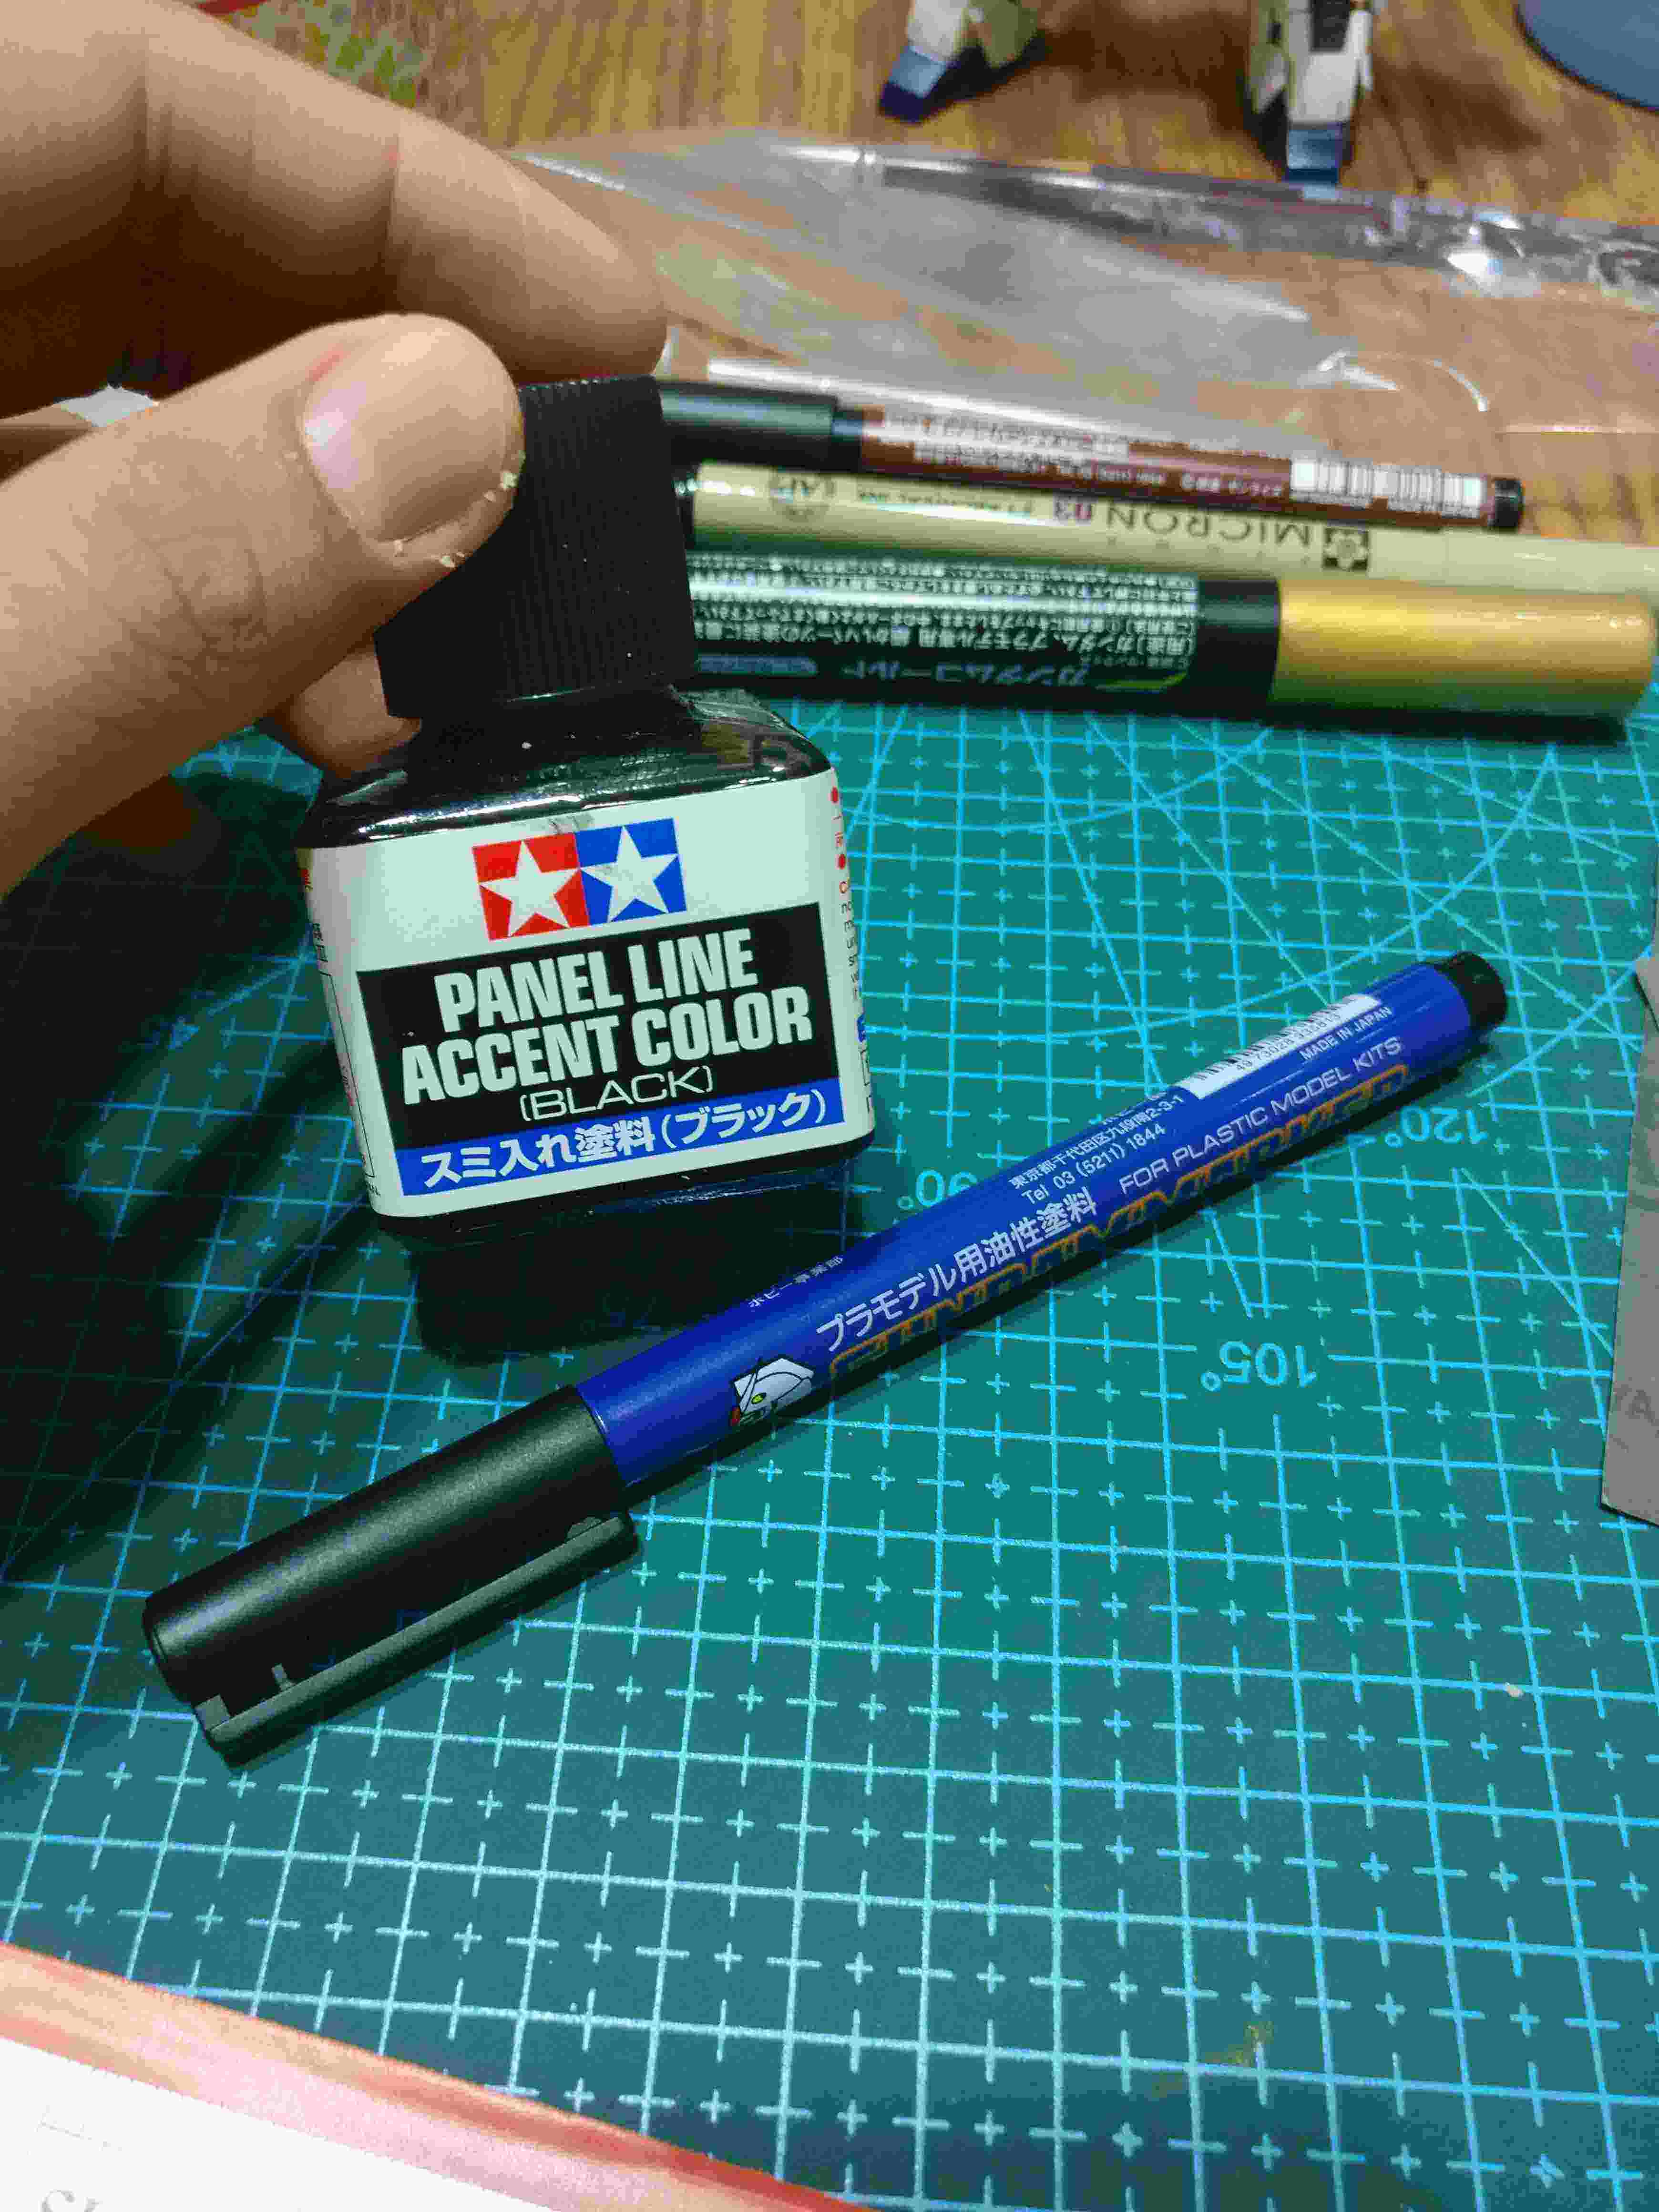
Panel lining pen(gunpla stores)- also for panel lining, but has thicker point and harder to apply than panel lining accent. It is not that accurate as the enamel paint and cannot go far into tiny teeny and deep ridges.
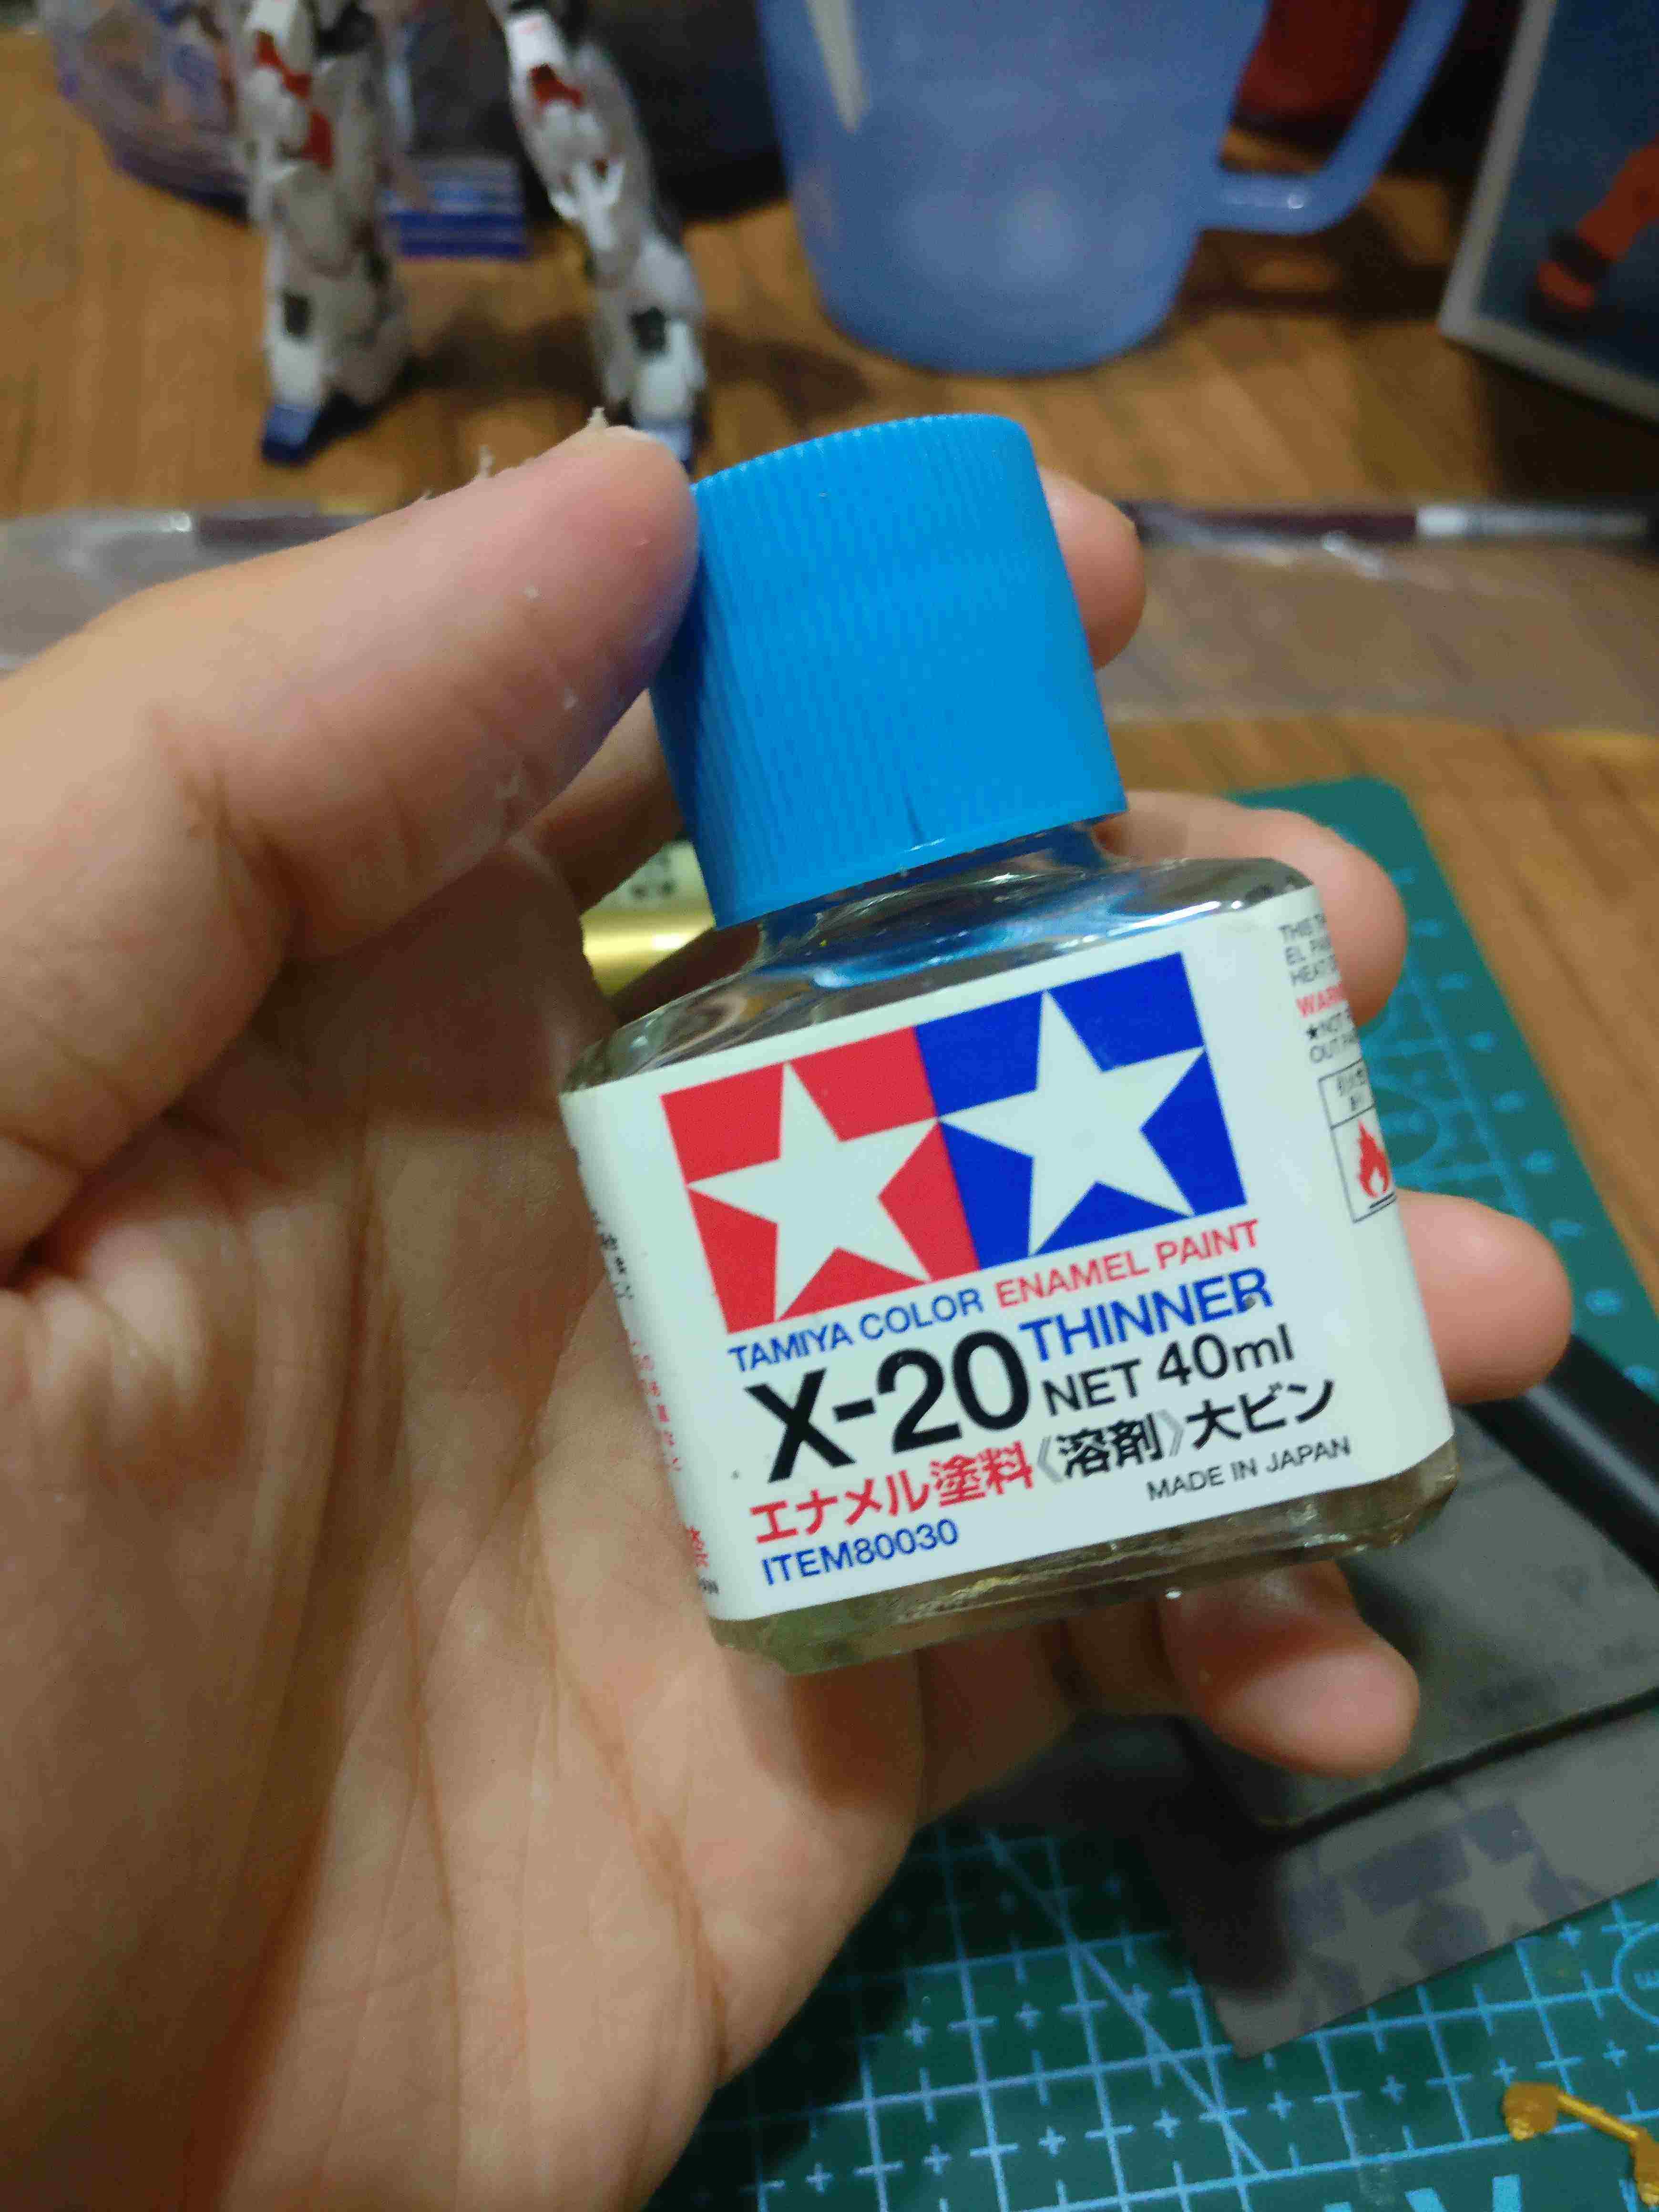
Thinner(art stores)- now this is a tricky part. Thinner can be categorised into 3 types, Enamel thinner, acrylic thinner and lacquer thinner for each oil-based paint respectively, obviously. Now, if you apply panel line accent or enamel paint for dry brushing or creating rusted or weathering on your model kits, you will need to use enamel thinner to wash it off but not acrylic or lacquer thinner as they are stronger than enamel ones, they might wash off the colour on the plastic of your model kits. On the other hand, if you use lacquer or acrylic paint on your model kits, you’ll need to use thinner suitable for them as enamel thinner is not strong enough to wash them off.
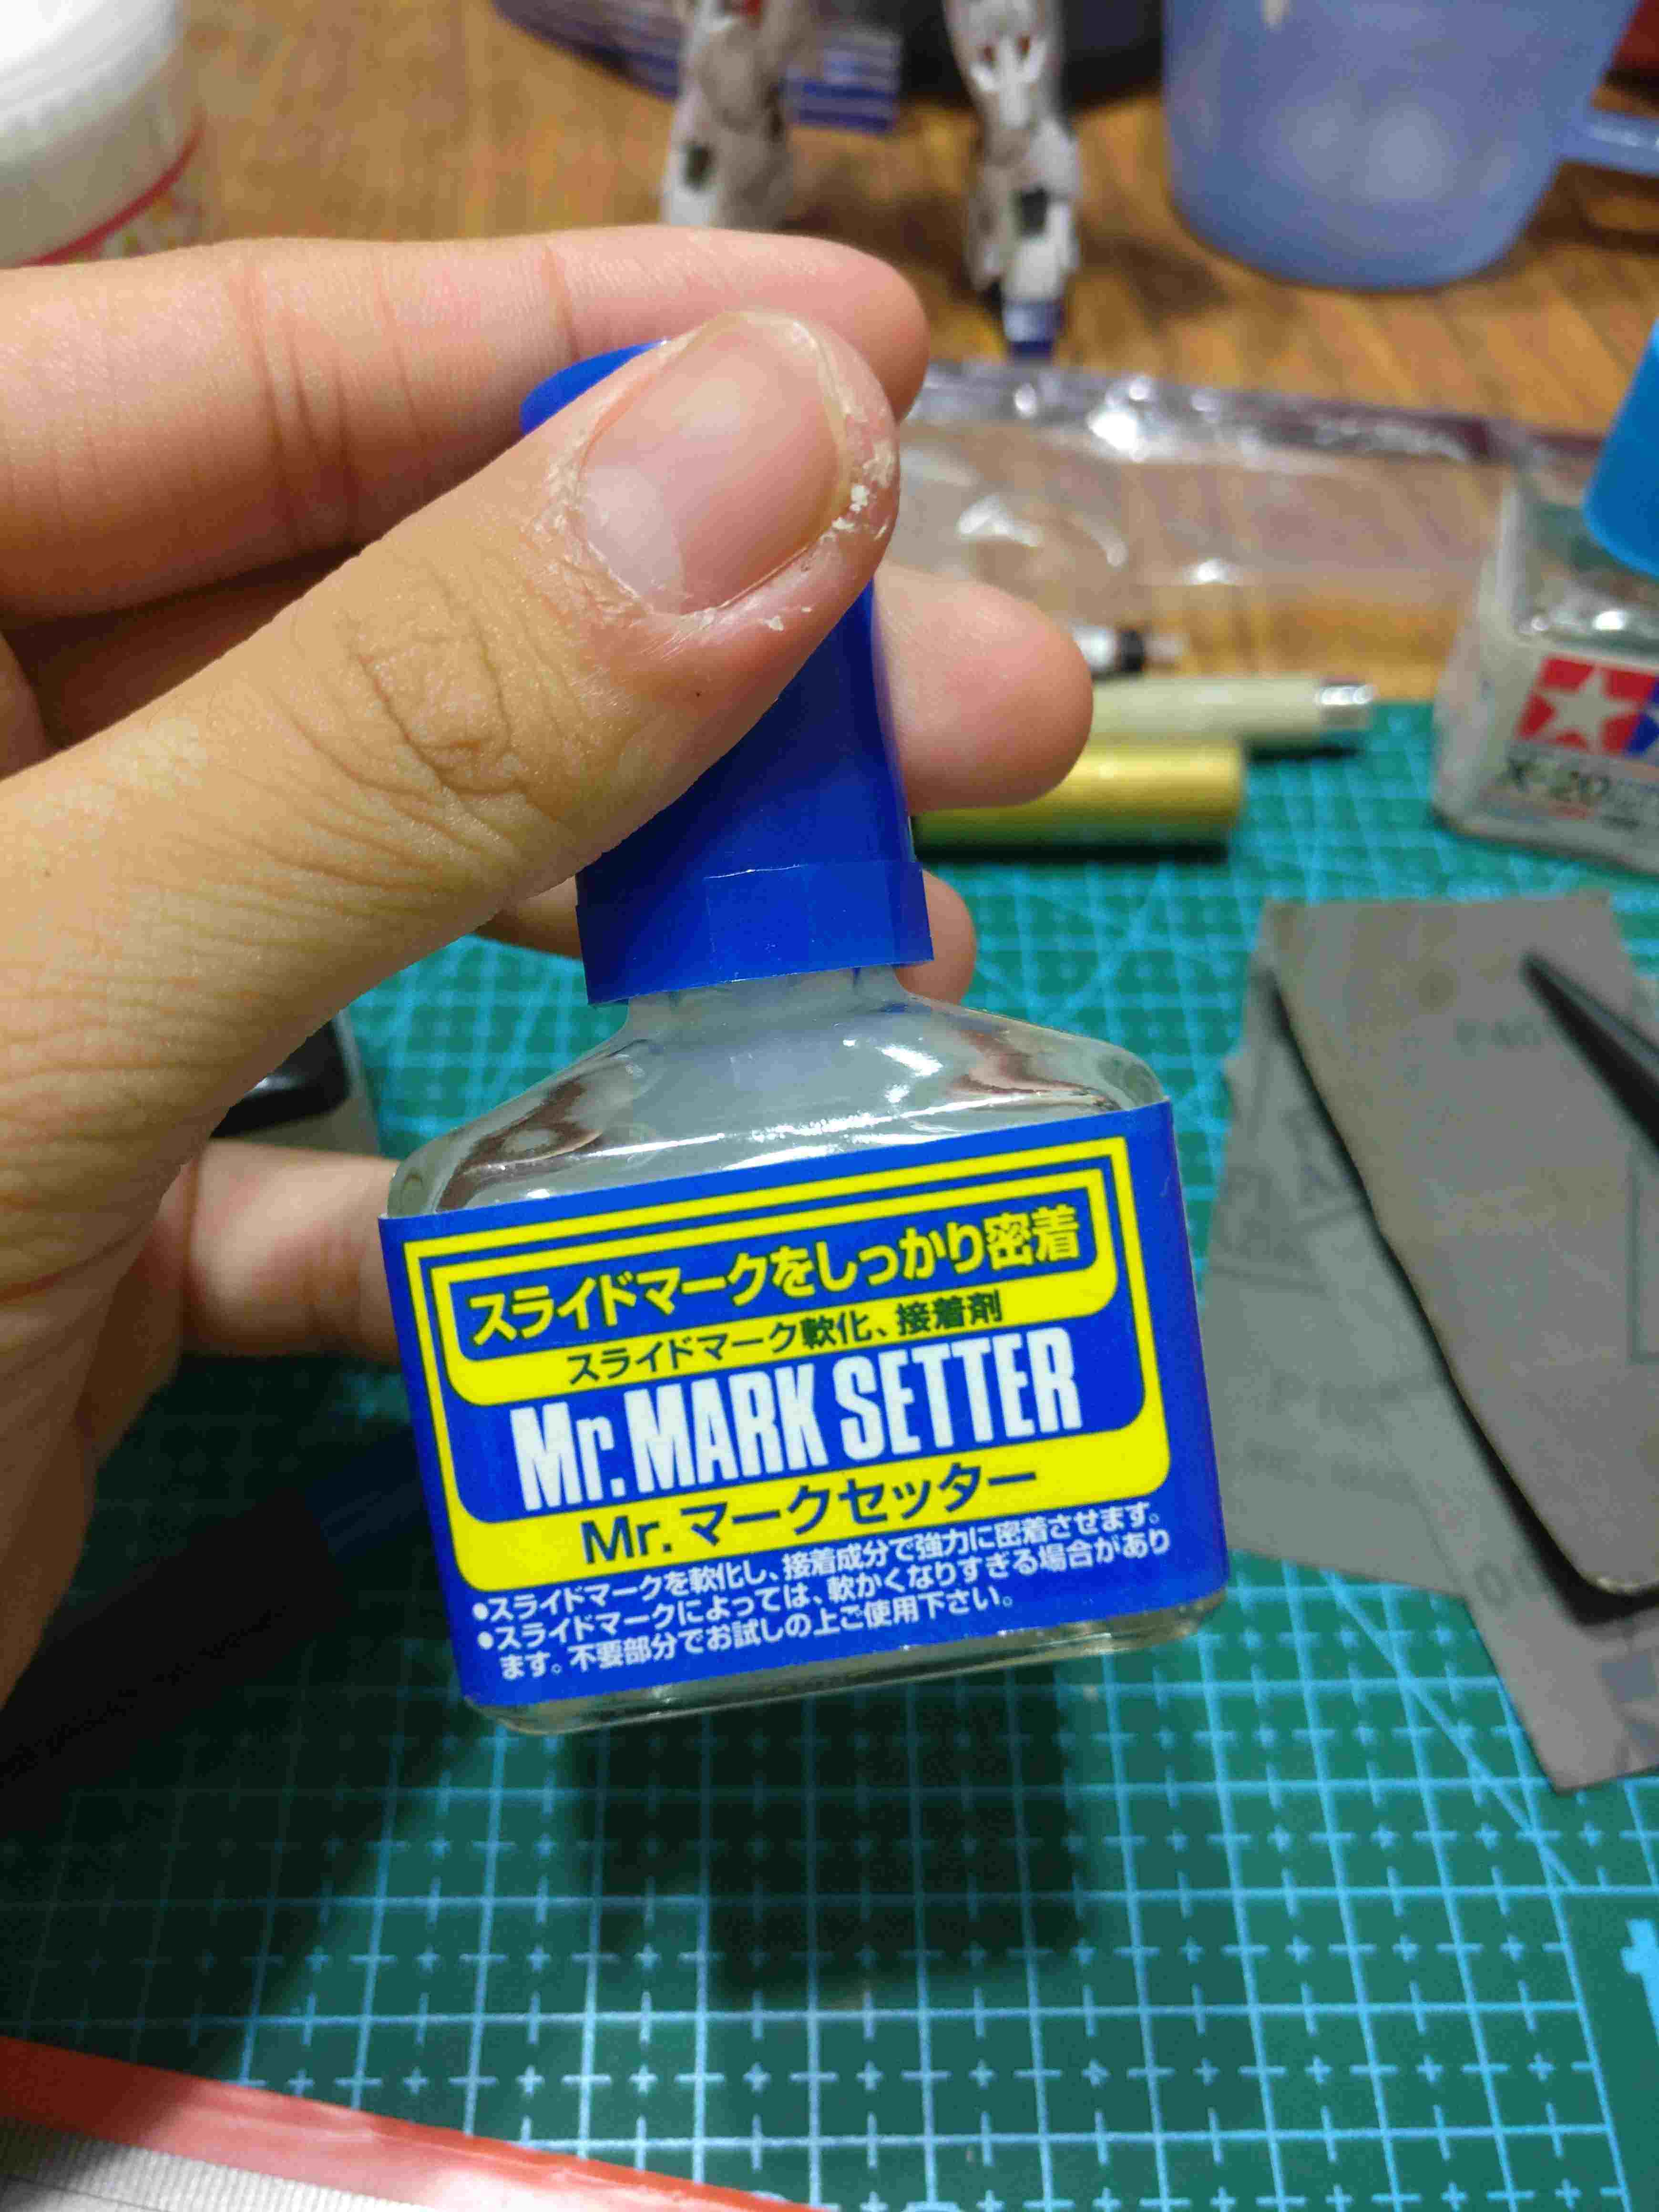
Mark setter/ mark softer(gunpla stores)- personally I only use mark setter, as this liquid will help the stickers and decals become more adhesive and stick to the surface, but you do have to push out the air bubbles inside. As for mark softer, this is for stickers or decals that happens to be on a curved surface or ridges available on your plastic, making them flexible and easier to stick on the surfaces.
Cotton buds(daiso/pharmacies)- for to rub off paints and clean up the surfaces.
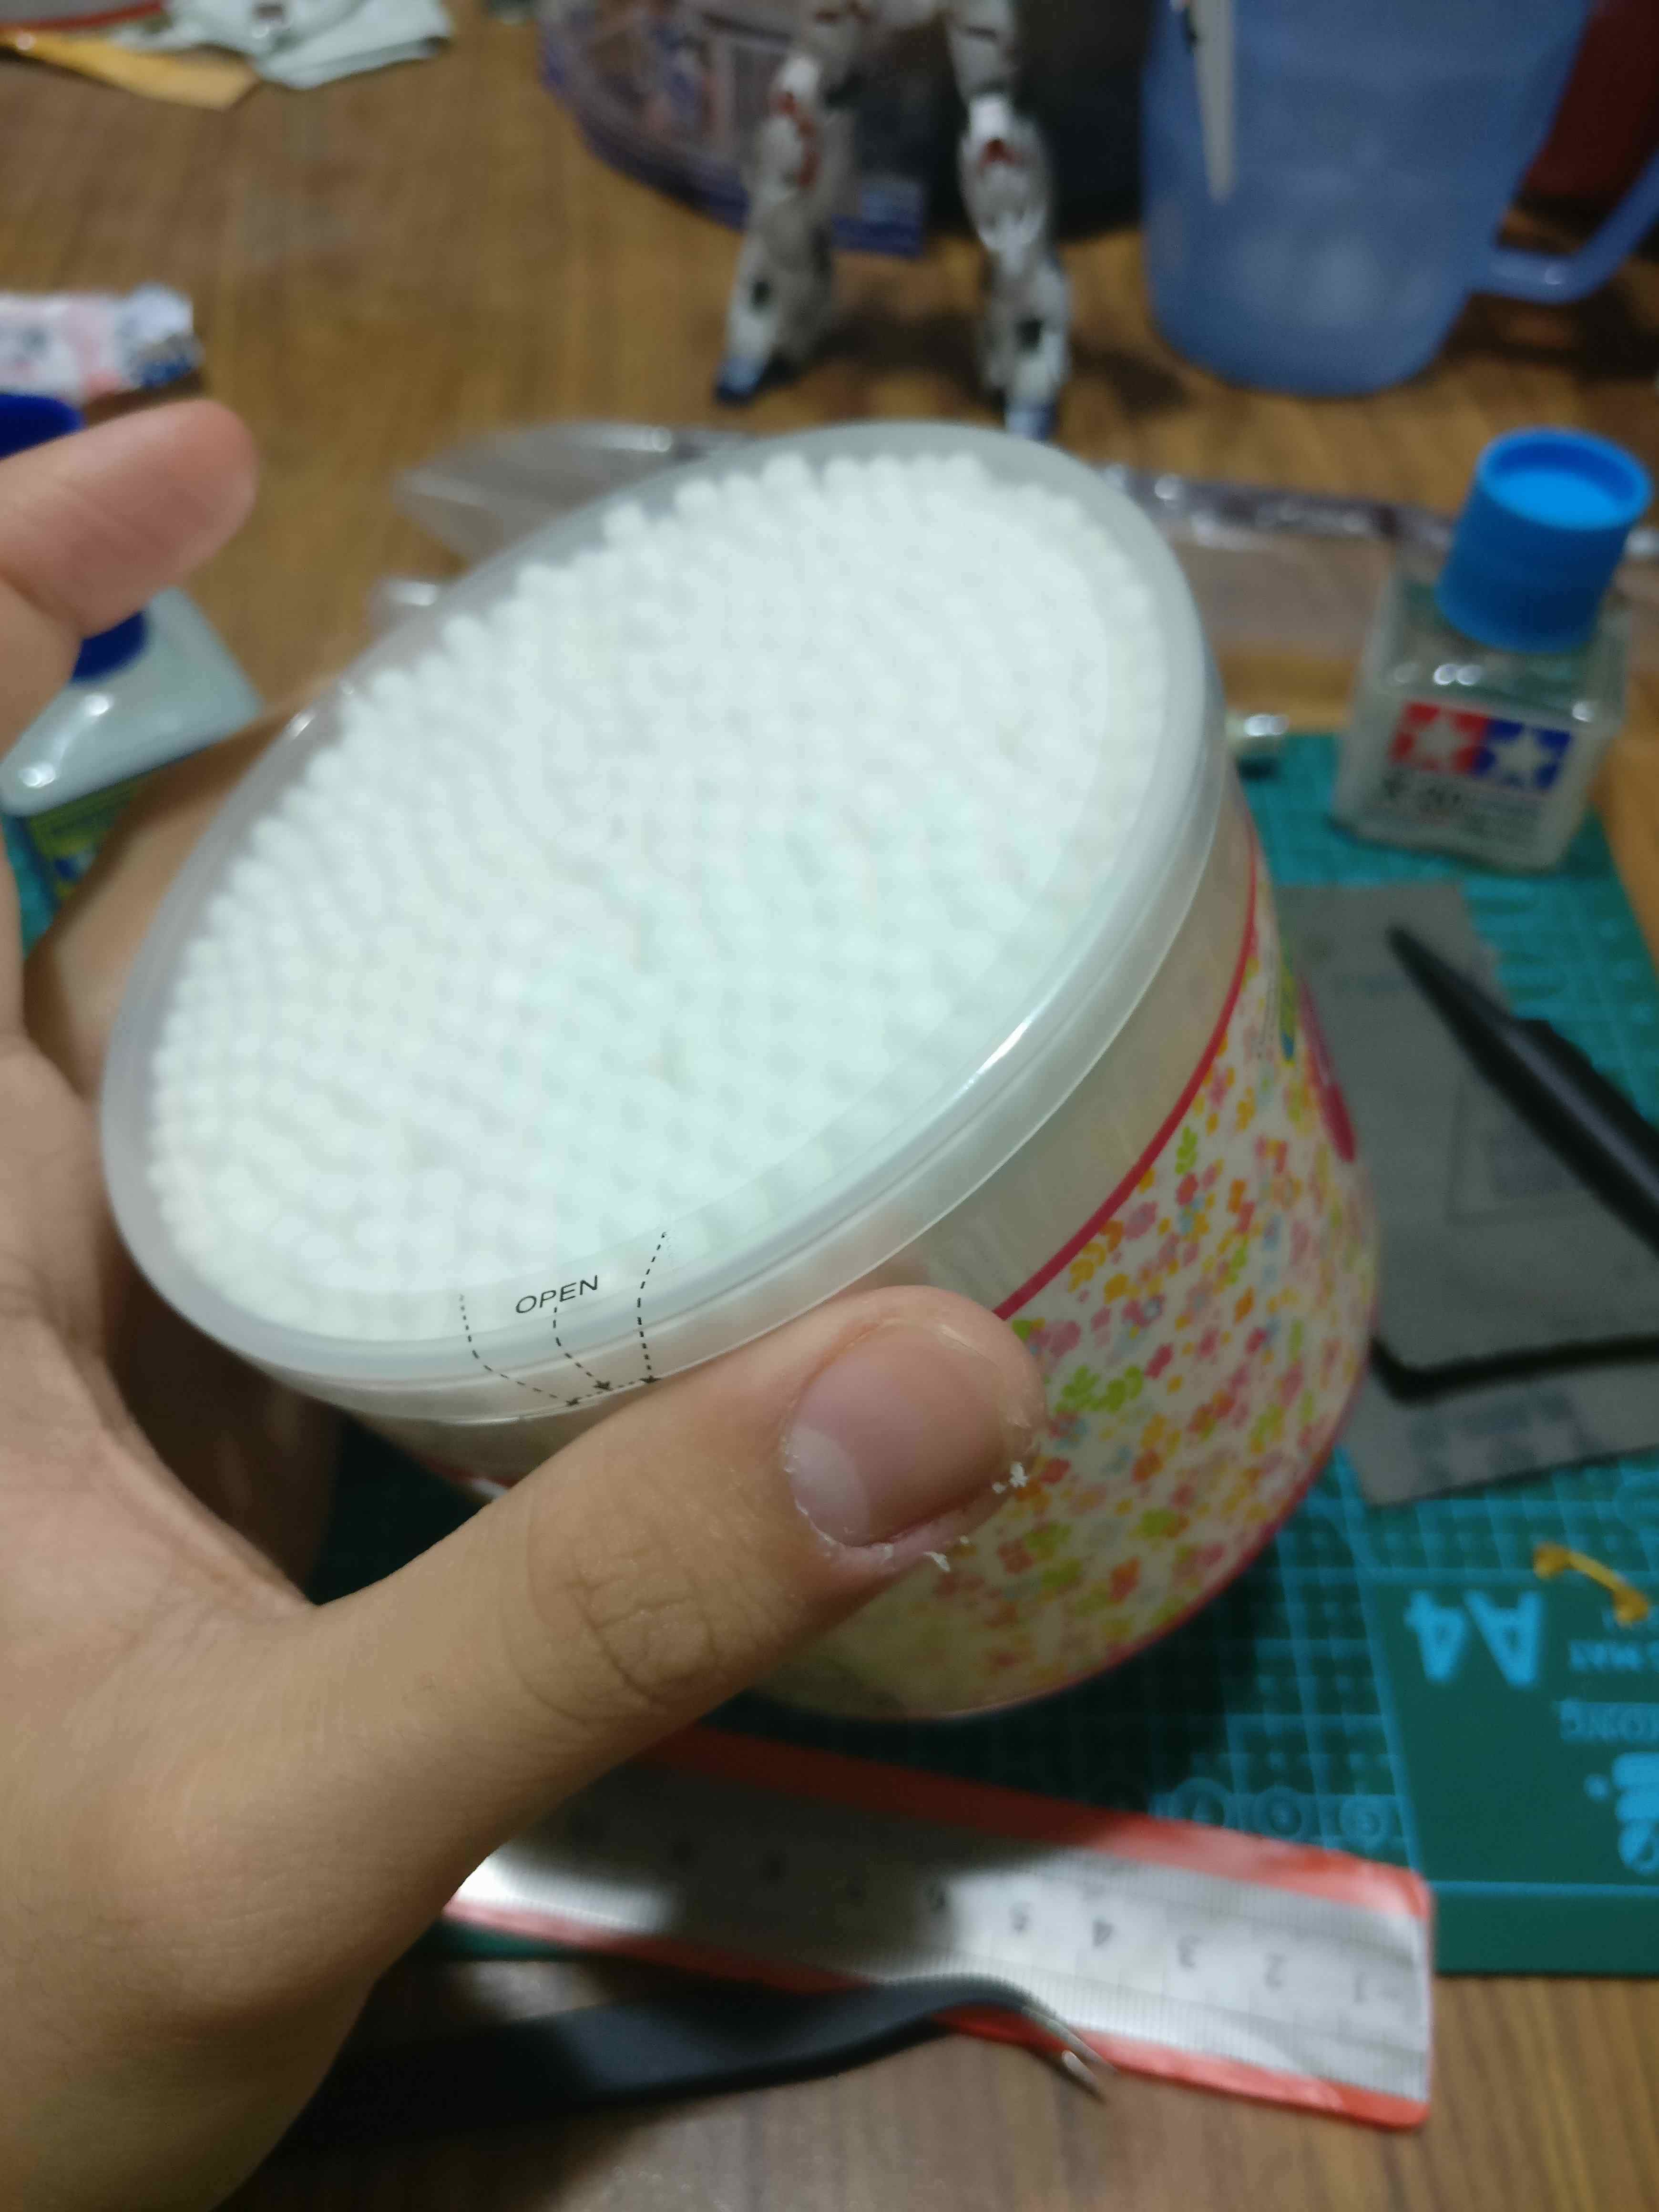
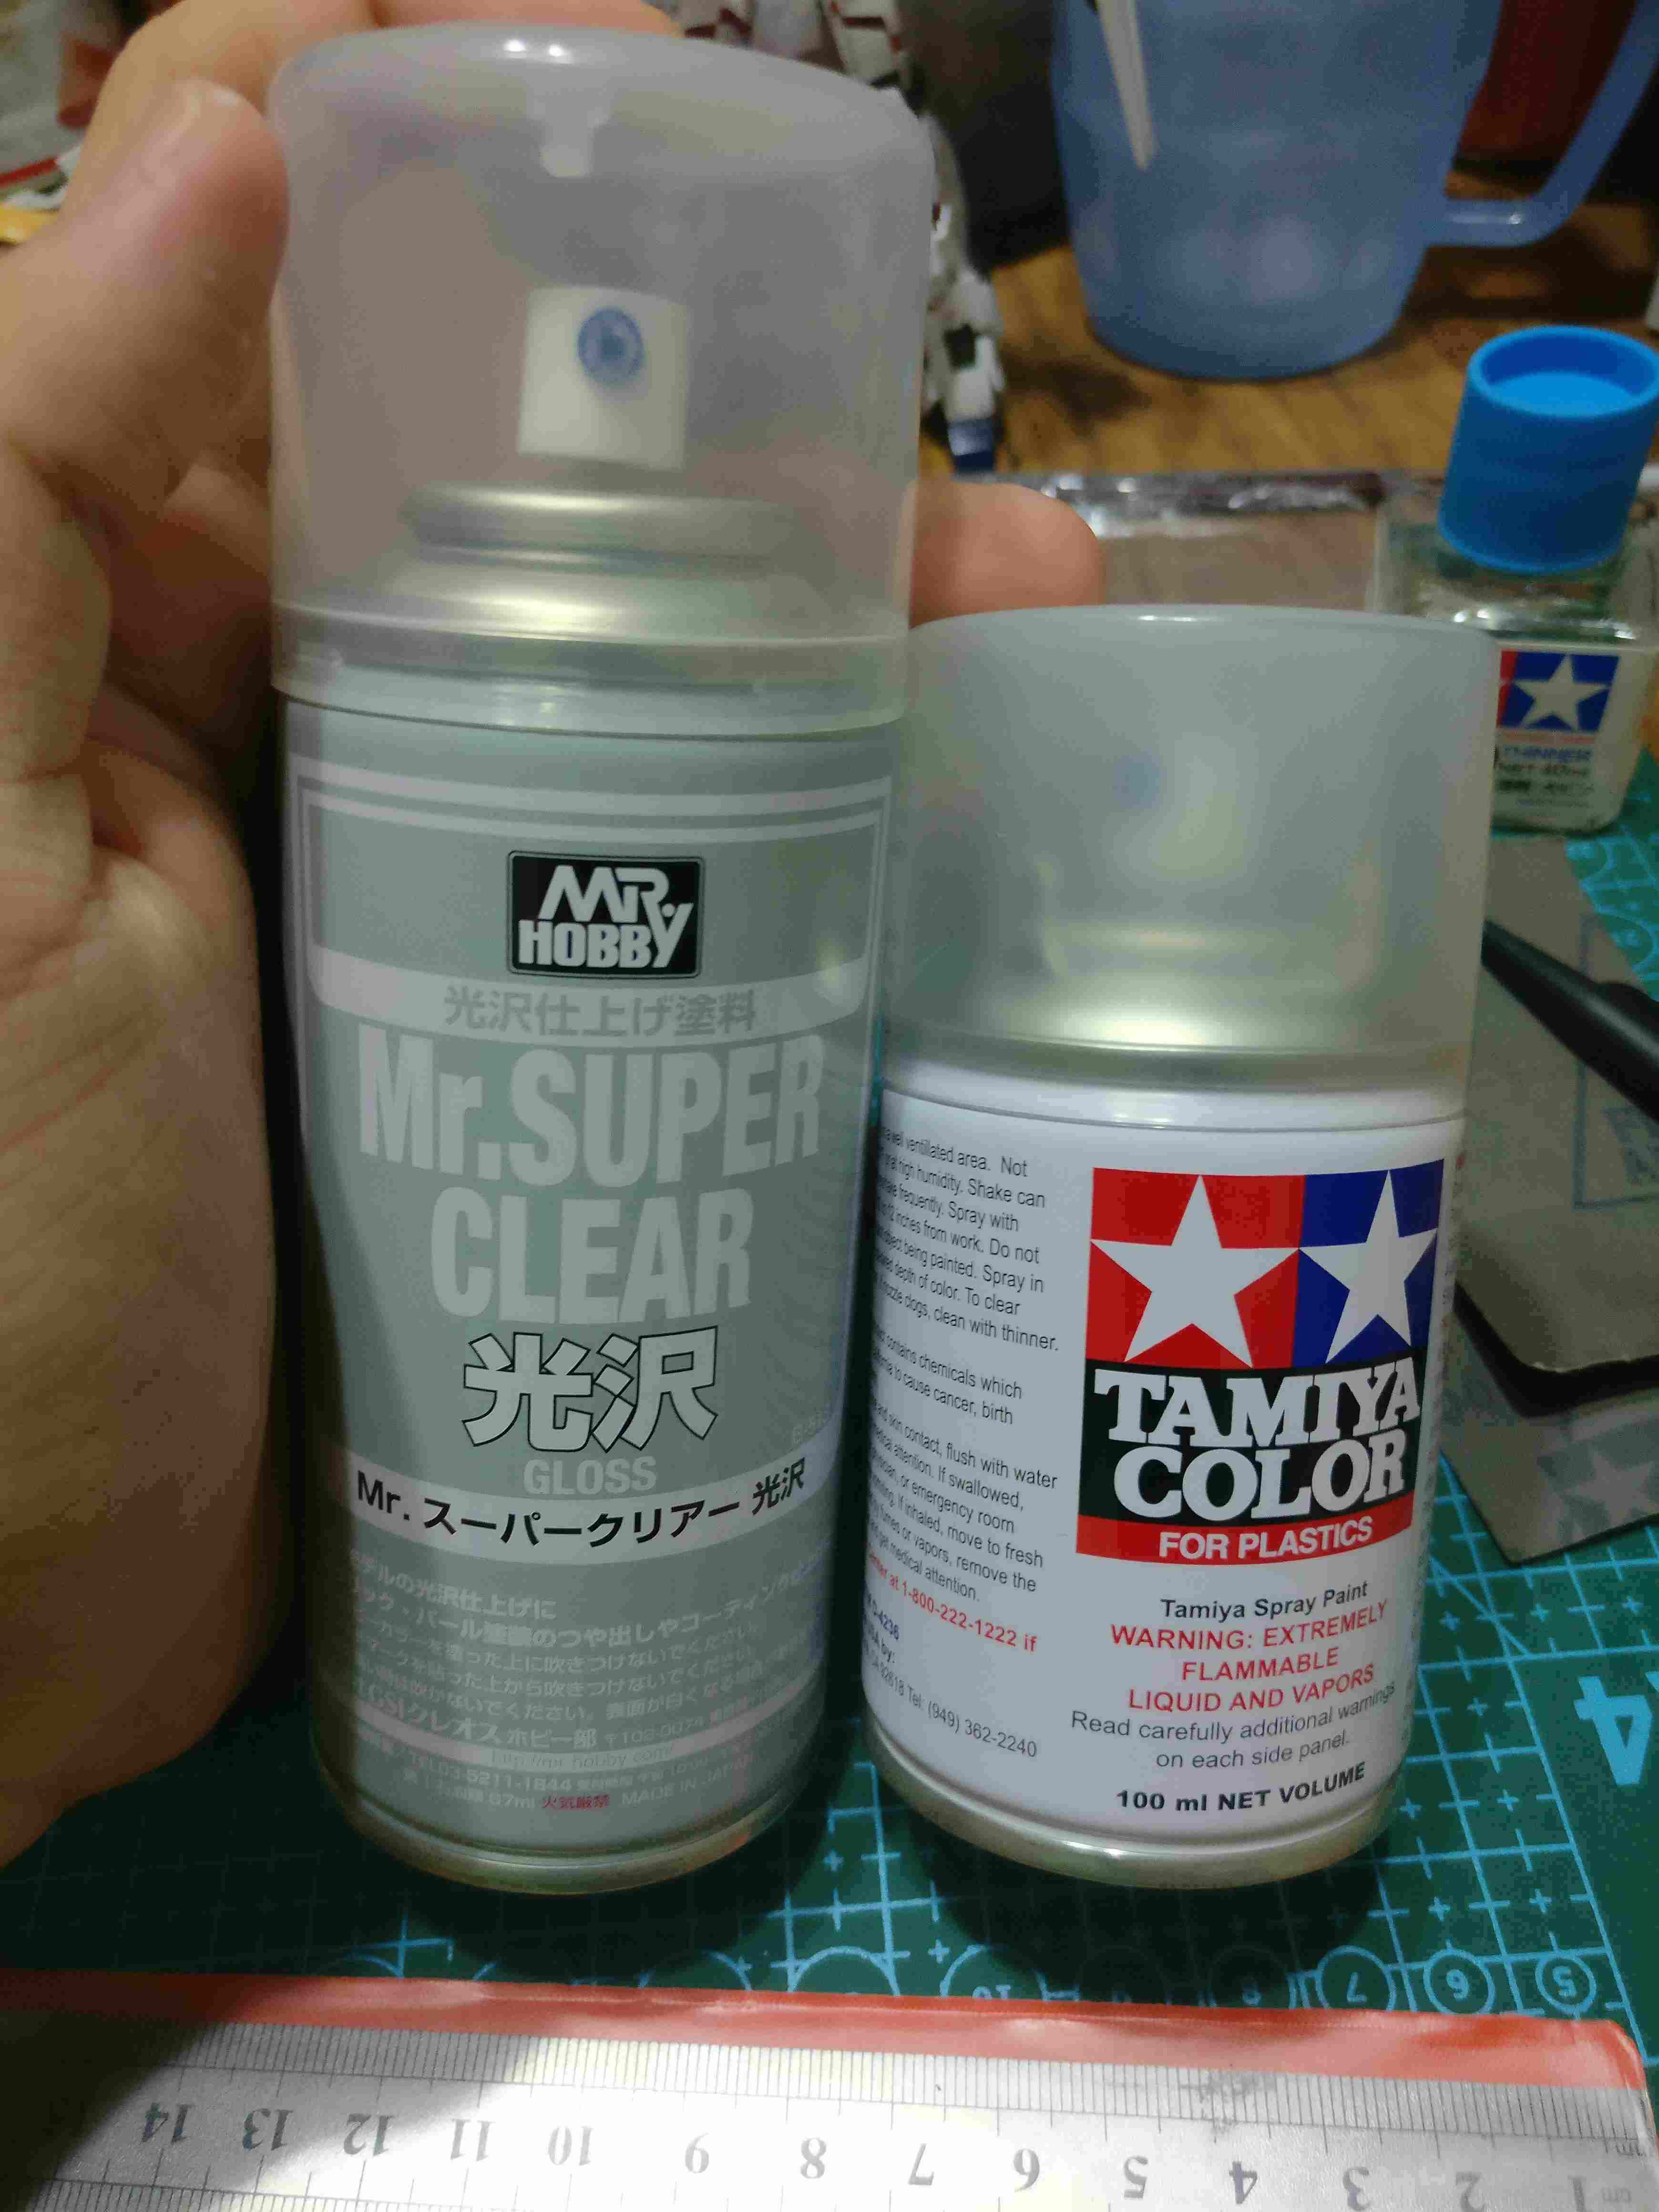
Top coat(gunpla stores)- after you applied panel lining and stickers and done sanding, you will need this to protect your kit. Top coat is layer(s) of clear coating that will help protect your sticker or paint chipping off. It may require multiple layers depending on your top coat brand. Other than that, you have 3 options, which is gloss, semi-gloss, and matte, which will make your figure looks better according to your preference.
What kind of model kits
you should get for starters?
you should get for starters?
Any grade of model kits would be a great start for beginners to build as their first. I would recommend you all to start with a simple kit. Simple kit as in less plastic and less parts to put together. I do not recommend starters to go for Perfect Grade (PG). I believe that it is for more suitable for experienced hobbyists.
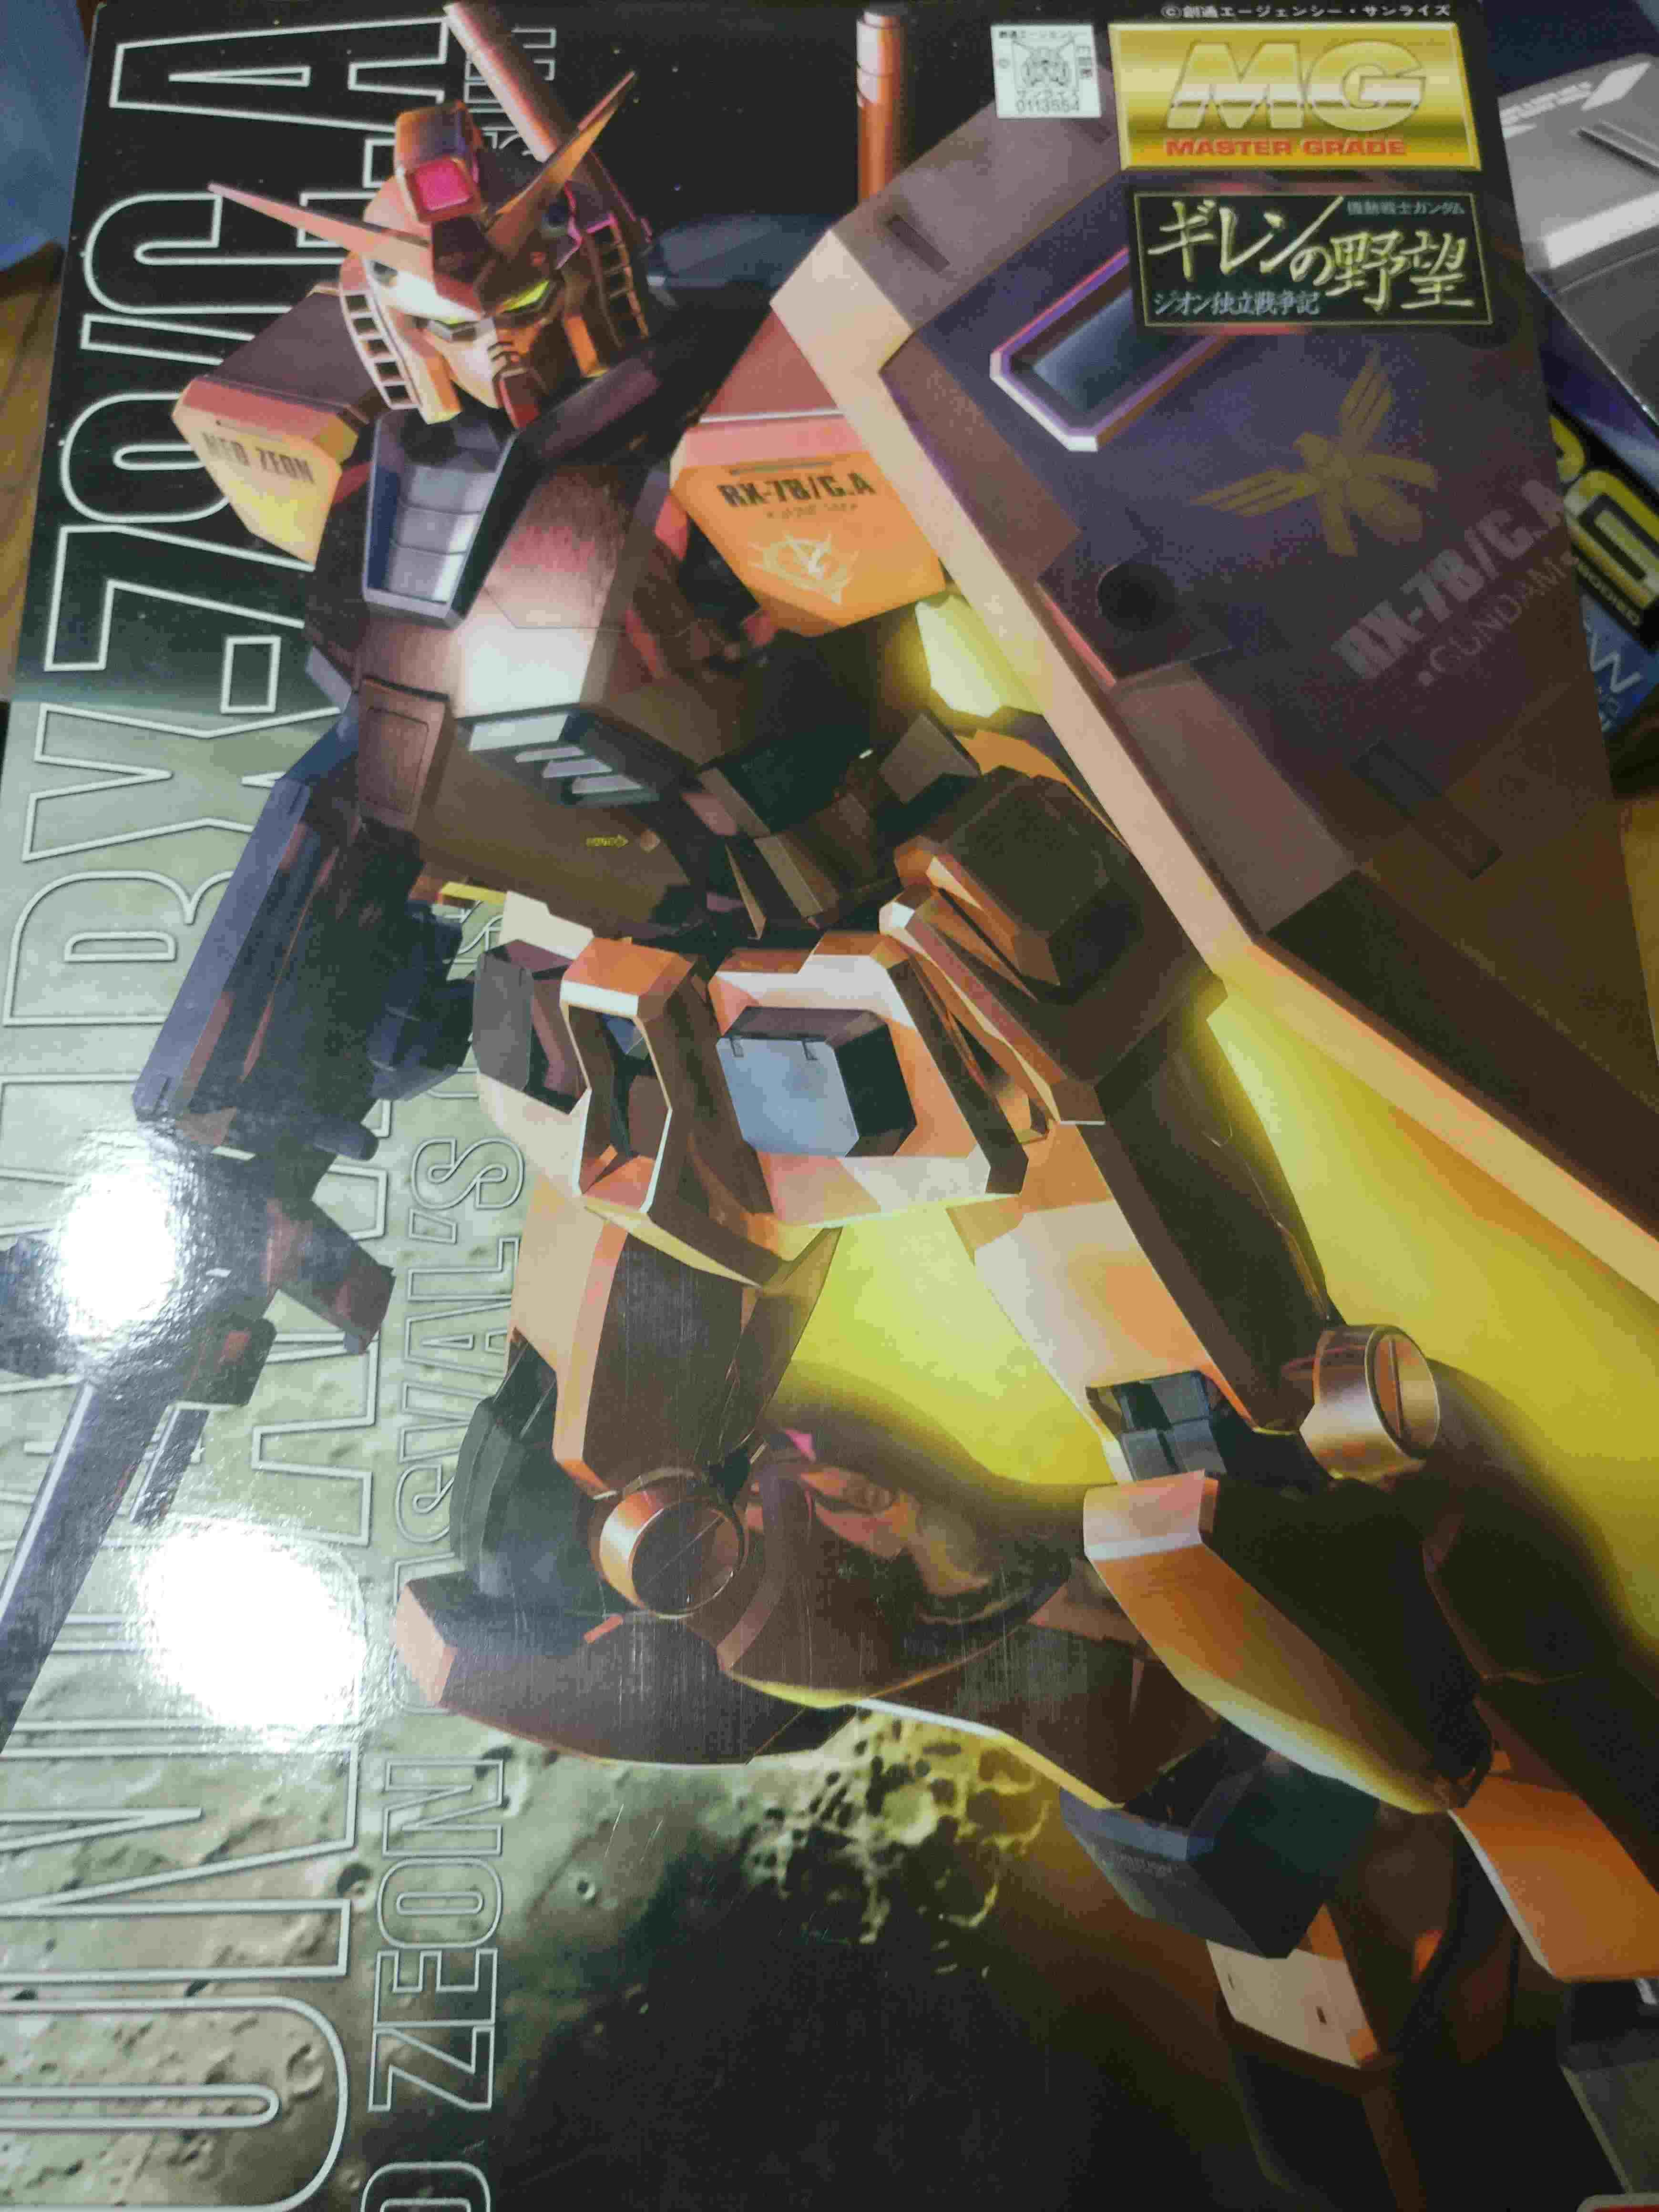
The box of an simple MG gunpla will
be looking like this: not wide and tall
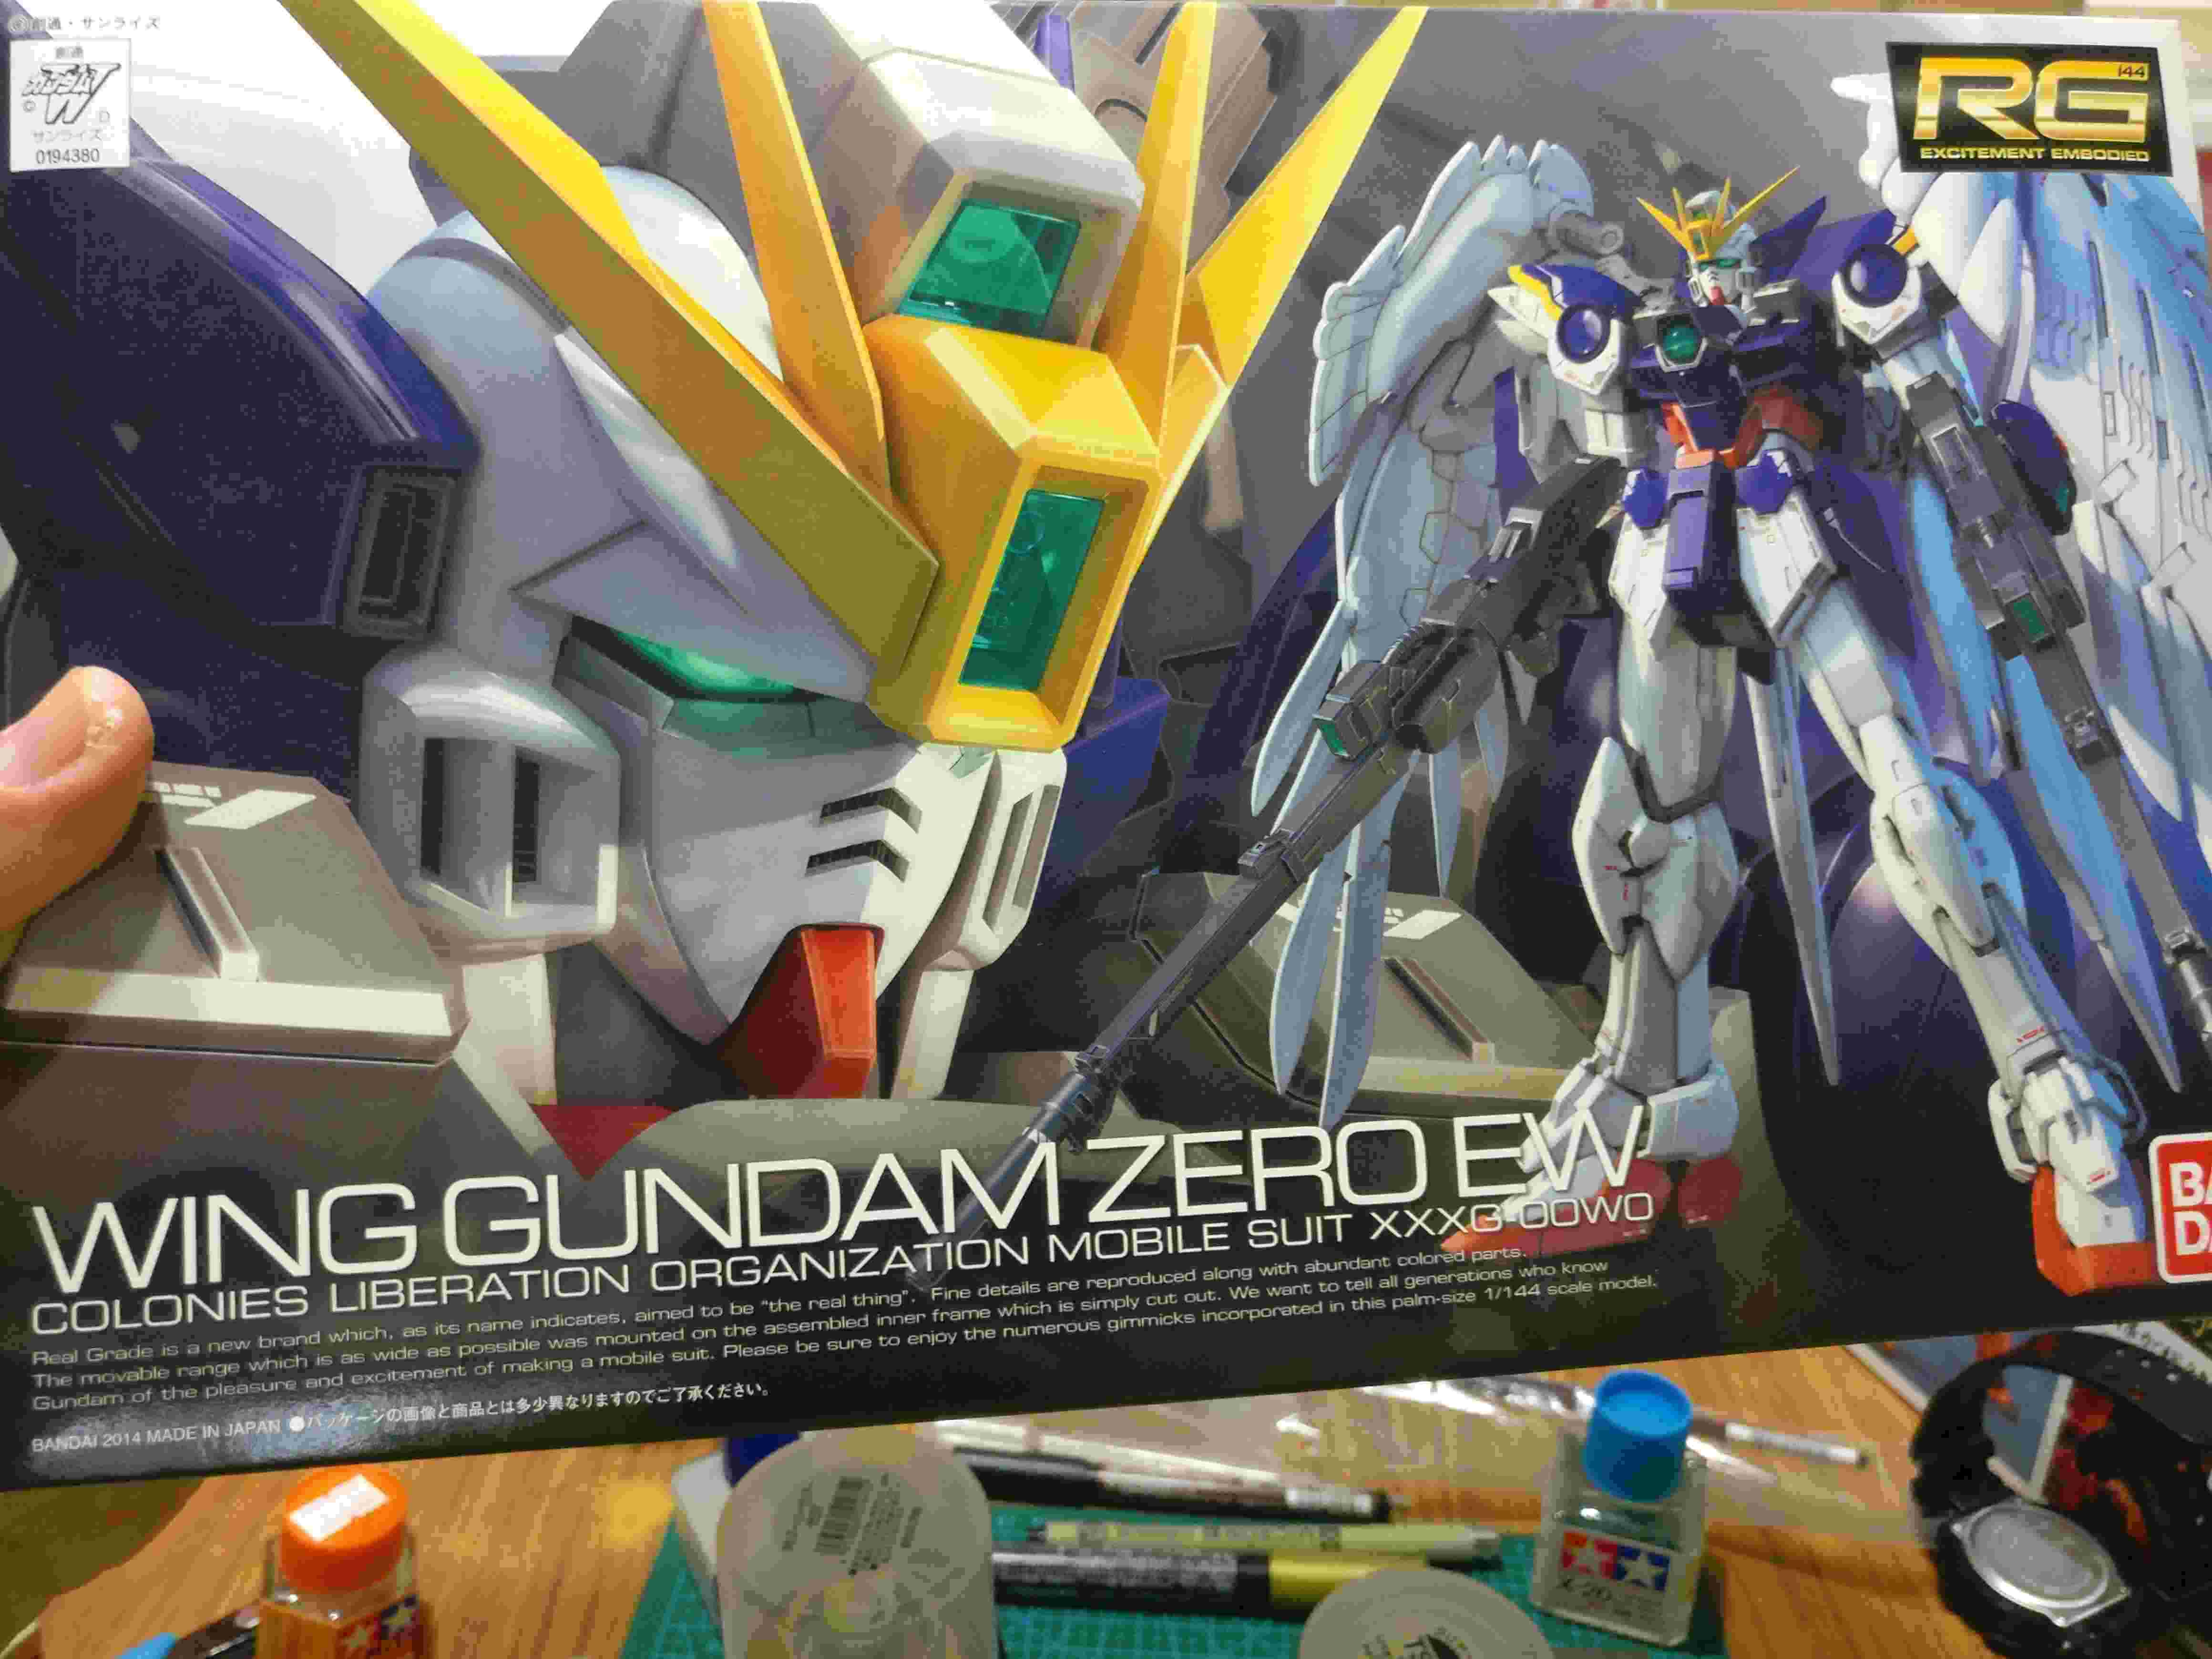
RG kit are mostly simple to build and easy to handle.